

Stemware Buffers
Are you daring enough to place your stemware in the dishwasher? Care enough to prevent chips, cracks, breaks? If you answered yes to both, then try this double-duty tip.

Double duty opportunity…strategically insert dirty sponges between stemware. Protect glasses and sanitize sponges simultaneously.
The force of the dishwasher sprayers can cause plates, bowls, and glassware to rattle and clink against each other during powerful wash and rinse cycles. Chips, cracks, and breaks are not uncommon. This little trick, that I use (when I remember), to prevent stemware damage serves 2 purposes. Whenever I run the dishwasher, I toss used sponges in. Damp, dirty sponges can harbor harmful bacteria. While the dishwasher may not restore sponges to pristine condition, the process does a better job of sanitizing them than I can. Since the full load is going to run anyway, that also means that I’m not wasting faucet water too.
When placing sponges inside the dishwasher, strategically surround glassware or any other delicate objects to buffer and protect from clinking and clanging damage. Protect glasses and sanitize sponges simultaneously.
Pile Pickin’
This tip is ever-green. Therefore, with a few tweaks, I’m reissuing these helpful reminders from last November. With the autumn and winter holidays fast approaching, it’s time to jump into your scattered piles to start clearing them out. With less mess, your guests have room to spread out and enjoy your lovely home spaces. No guests on tap? You deserve to enjoy every inch of your home, apartment, condo, RV, or whatever your domicile is.
Piles Beget Higher and Deeper Piles

Without concerted attention, piles will grow higher, deeper, and wider consuming awaiting surfaces and furniture. Wipe out pernicious piles once and for all.
Have you ever noticed that piles generate a magnetic vortex? Festering piles perniciously attract more items, irritatingly spawning greater heights and width. If you don’t wipe out the pile completely, once and for all, that mysterious magnetism will continue to draw in more contents around your countertops and floors. Any surface is fair game. You’ve witnessed the phenomenon. You know what I’m talking about. Fat chance your guests will have room to feast or sit comfortably if all surfaces are consumed.
Like The Vitamins, One a Day
Use the time before the next holiday to wipe out a pile a day. If you only have one nagging pile in your home, that’s fabulous. Easy, peasy to get through that and move on to another pre-holiday task such as recipe gathering or greeting card signing. Take a breath. Avoid spinning out on the dread of how much time it will take and where will everything go. Zoom in on one pile to zap. Lose yourself in a podcast, music, or tv show, or even a head-set phone call as you work your way through the assemblage.
Room to Room Running is Good For Exercise, Bad for Time Management
Instead of running from room to room with each piece of paper or object, sort into categories or destinations. When it’s time to take a break or nearing the finish, cart away goods to next destinations. There might be temptation to start piles in another room. Avoid succumbing. It doesn’t take that long to toss dirty laundry into the hamper. Hang clean clothes or place into drawers. Shred or recycle unneeded documents. File away keepers. Don’t have a filing process? Grab a folder(s) or a large envelope(s). Label with a title that makes sense to you such as “to be filed,” “important,” “tax documents,” “pay stubs,” “school work,” “estate planning,” “recipes.” You decide.
Where to Start?
How do you decide where to launch when the choices appear endless? The choice is yours. Start with the:
Here’s the trick, you need to be diligent about setting aside at least a few minutes each day to make headway until the piles dissipate. The sooner you get done, the sooner you can relax or move on to other things. And of course, you can chill out instead of addressing any of the piles, but…if you’re prone to gigantic doses of overwhelm prior to the first guest, you might want to gracefully pace yourself for the least amount of hassle.
Experiment to Find the Winning Formula
Play around, see what works. Use a different methodology each day depending upon the pile or your mood. If you find a process that works well for you, but are likely to forget, jot some notes in your e-device of choice. I’d love to hear your success story. Feel free to share before/after photos or details at sherri@thepracticalsort.com.
They Call it Obsession. I Say “Savvy Maintenance”.
Why do I clean my house every week? To go a step further, why do I get antsy when I don’t complete this life-long routine? My kids think (perhaps rightfully so) I’m obsessed with cleaning. And while it’s partly due to my perfectionist tendencies, it’s more about efficiency and making things as easy for myself as possible.
Bottom line, maintaining is so much less taxing and time consuming than rehabilitation. Like your body, keeping it in shape is far less onerous than losing 20 pounds, rebuilding stamina, and regaining lost flexibility. Think of it this way, imagine a pan caked with burnt on bits. No non-stick surface. It’s going to take elbow grease to get it clean. The process will require less scrubbing and go faster if you do it right away. Crusty, lingering pots and pans are recipes for ill-tempers. Take action while the pan is still warm. You can opt to soak it in water or a soapy solution to allow the food to dissolve and release.
My own process is quick. Use a splash of vinegar, a few shakes of baking soda, and a squirt or 2 of liquid castille soap along with boiling water into the pan and let it soak for a few minutes. That’s not procrastination, it’s strategic unless the pan soaks for days or weeks until the water becomes mold-filled or infested. That’s not recommended because you have other concerns to deal with. Yes, that happens. Chances are, if that’s the state of your kitchen, it’s understandable why you would want to cut and run. Unfortunately, the longer you put cleaning off, the worse the situation will become. Here are some thoughts for tackling the messes with greater grace and hopefully fewer 4 letter words.

A clean house is grand. Eco-friendly cleaning supplies are a responsible choice for your overall well-being. Less harm to the environment, less harm to you and your family. Image by Monfocus from Pixabay
Self-Designed Ritual Sounds Kinder Than Chore
Buddy Up Tag Team
Gift Yourself a Hired Hand
The Right to Do It Your Way
Serendipity in a Most Beneficial Way
Serendipity. “The occurrence and development of events by chance in a happy or beneficial way”. *
“Serendipity.” A 2001 rom-com I rewatched a few nights ago. A most welcome emo-escape after a long day and a poor choice of watching the nightly news. Sigh.
Serendipitous occurrences intrigue me. But what do they have to do with cleaning?
Last week, I assisted a friend plagued by problematic tasks. While wrapping up our work together, my mind was already back home, at my computer, struggling to initiate this week’s tip. The tip well was dry. I could sense myself getting amped.
I packed up my gear, we hugged our goodbyes. Then she asked if I wanted to see furniture she inherited from her mom’s estate now lovingly situated in her guest room. Sure, why not stall before facing my blank computer screen?

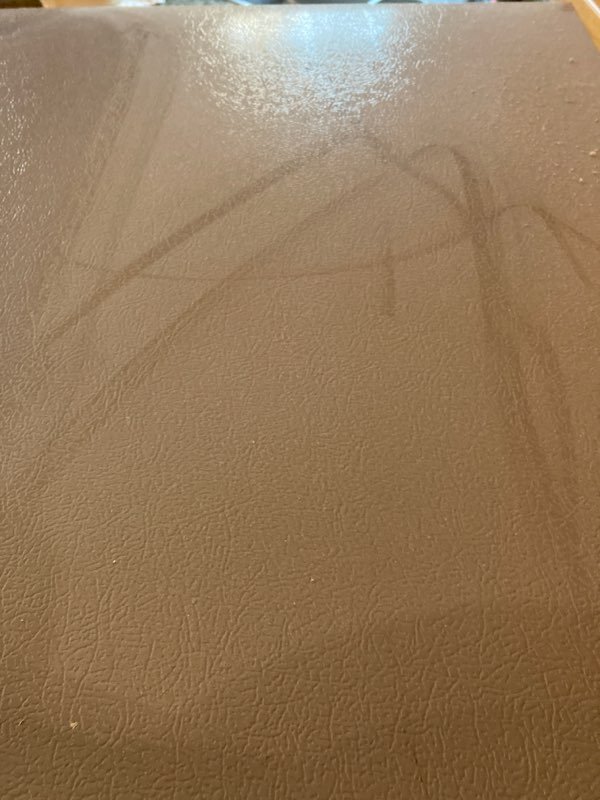
One piece was a modern, slightly worn at the edges dresser. She hoped I had suggestions for refinishing the laminate. Sorry, that’s not my expertise.

Bits of debris in the drawer
Next she showed me the drawers. Evidently the insides hadn’t been cleaned for some time owing to her mom’s age and physical condition before she passed away. My friend explained how she planned to tackle the debris removal process. Dislodge each drawer, take them one by one outside, shake them out, scrub them, return them to their respective slots.
Imagining her carrying each drawer down narrow staircases, setting up a cleaning space outdoors, ejecting all the debris embedded in the corners and ridges, started my brain spiraling and mouth disengaging before I had the opportunity to ask if she’s open to advice. “How about vacuuming them out?” She gave me a look, and felt like I was shrinking inside because I overstepped with advice mongering. She giggled and said “OMG, I never thought to do that!!” She thanked me profusely. I joked that I should use this as a tip, but I judged it to be obnoxiously obvious. She reminded me that it hadn’t occurred to her, what if others would also benefit? So here it is.
Vacuum out your crumb, dust, debris filled drawers instead of carting them elsewhere to dump out. Use the vacuum attachment for gently dusting throughout the drawer. Remove the attachment to suction out the ridges and corners.
Sorry if you already use this technique, but I’m going on her word that this tip is worthwhile to get out there. And thank you to my friend for serendipitously providing me with this week’s tip when I couldn’t do it for myself.
I Bared it All…As Promised
I stepped out of my comfort zone. I promised to send a client behind the scenes photos. Technically, that scene is behind my refrigerator. Long story short, before submitting a maintenance request, she was highly concerned about what might be lurking behind the fridge, and how maintenance staff would react. I assured her that for most of us, crumbs, cobwebs, and other debris are quite normal back there. And that’s for homeowners. In leased apartments, where residents typically have less investment in property upkeep, conditions are presumably going to be worse. I’d speculate they’ve probably seen it all.
Even “Neat-Freaks” Have Those Areas
How often do you clean behind your fridge? My intent is to get back there at least once a year during my winter/spring cleaning. Be that as it may, I’m pretty sure I forgot in ’22. And although, I was certain that zone would be embarrassingly deplorable, I offered to be accountable to her. It was also an opportunity to reveal that even those of us who consider ourselves “neat-freaks” have areas that are far less than perfect. Out of sight spaces are less likely to be top of mind.
I grabbed my phone (for photo proof and in case I injured myself), the vacuum, rags, and a step stool. I then wrestled the dual-doored beast away from its enclosure. Not an easy job because there isn’t much room between where it resides and the island. Fortunately, it rolled out fairly smoothly as I gently nudged it back and forth. And as it did, it left a trail of crumbs with each sideways maneuver. That wasn’t a surprise.
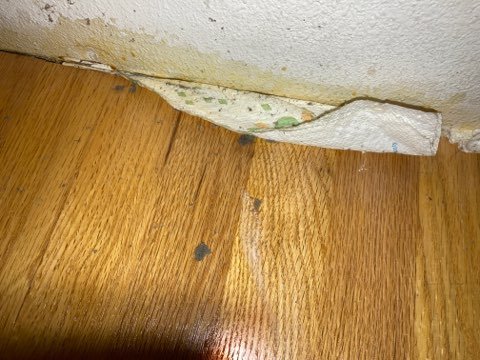
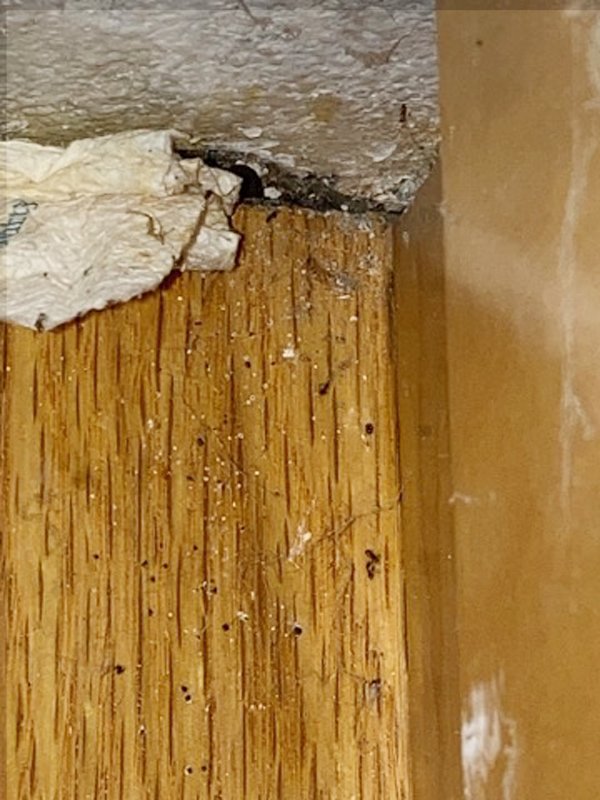
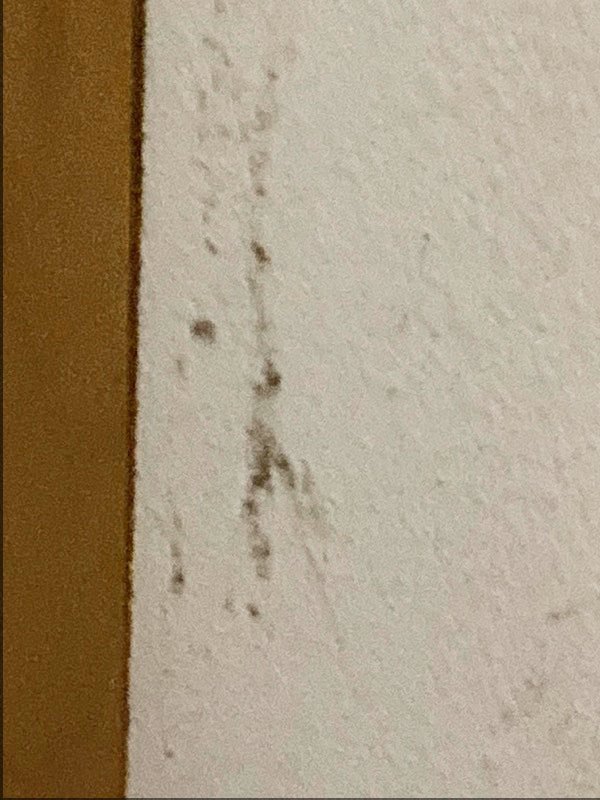
Perplexing Discovery
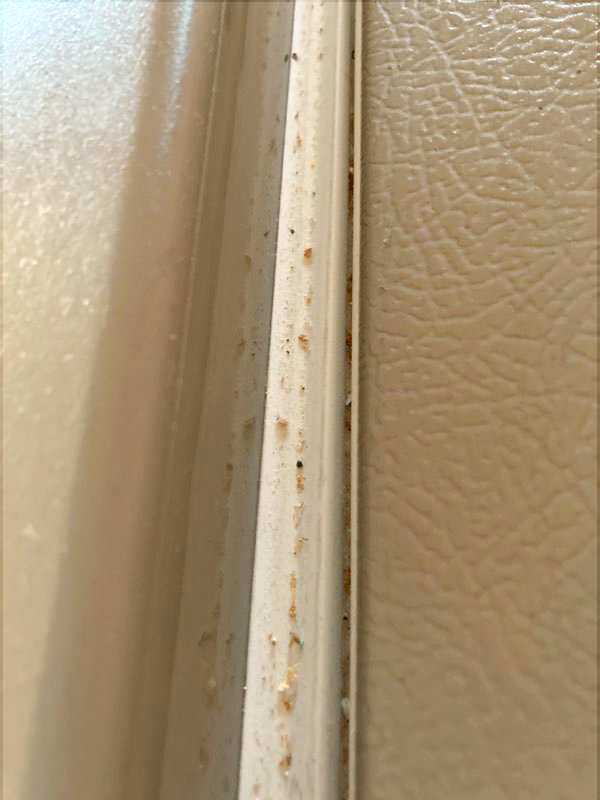
How the heck did crumbs get on the top seal? And only on the fridge side. The top freezer was clean.
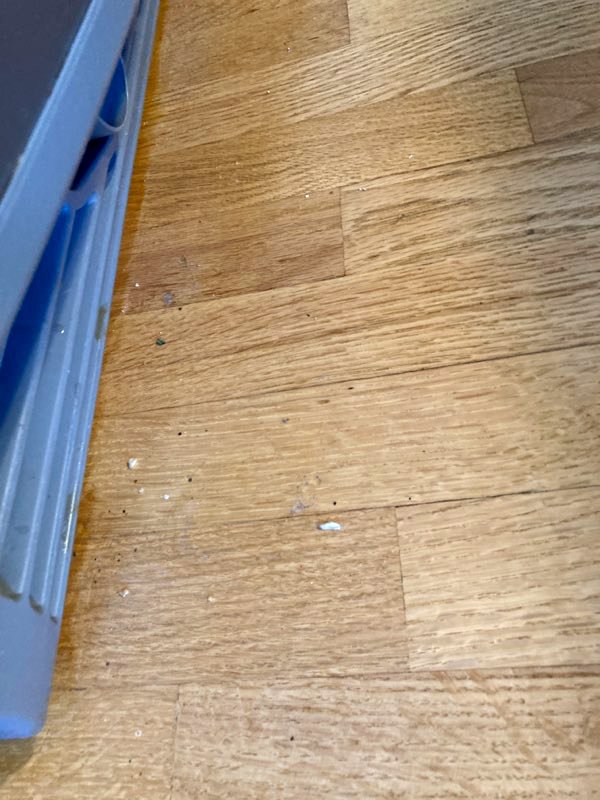
Surprisingly, compared to how it’s been most years, the scene wasn’t as bad as I anticipated. The 3 walls and back of the fridge had their share of cobwebs, but I didn’t see too many spiders. No sign of vermin droppings, thank goodness. Small patches of possible mold from minor water drips are in the hardwood, dang. The floor was littered with crumbs, but mostly contained to the wall edges. But here was the most perplexing discovery. Once the fridge was out of the enclosure, as I stood atop the stool wiping away the accumulated baby dust bunnies. There I noticed that the refrigerator door top seal was besieged by crumbs. None on the freezer side, and how the heck did all those crumbs get on top of the fridge??? Bizarre, truly.
Start to Finish Faster Than Anticipated
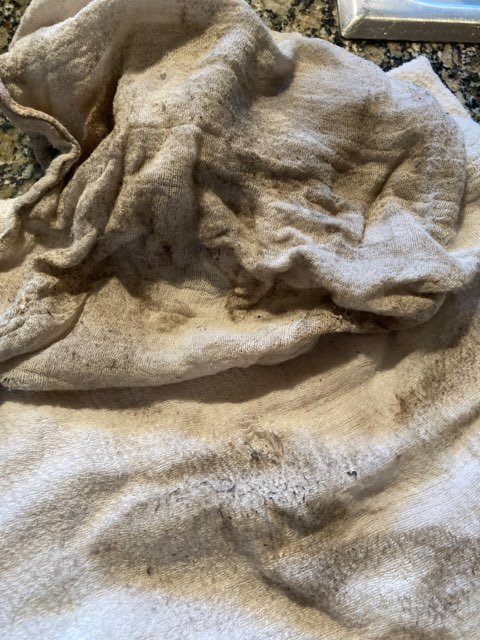
All told, the setup, moving the unit back and forth, vacuuming the floor, walls, and around the exterior of the fridge and wiping the same down with a damp rag probably took less than 15 minutes. Much faster than I allotted for in my morning schedule. Finally, photo proof was on the way to my client along with a text noting that in real life, while not bad, the schmutz was actually worse than what I captured digitally.
Reflective Moment
Afterward, I thought about several lessons that I walked away with, see what you think.
1. We set ourselves up with standards that sometimes are unrealistically high and possibly not justifiable. That’s often me in a nutshell. A lifelong affliction I’ve been diligently addressing. Not easy. For most things, good enough is truly good enough.
2. We freeze and avoid tasks for fear of judgment by others based on those standards. What if we consider the importance of any resulting judgment? In her case, whether valid or not, it doesn’t matter, she had concerns around judgment potentially leading to detrimental repercussions such as eviction. Eviction is extreme and in this case, I surmise unlikely, yet there are avenues for remediating should that happen. Most times, we either fear judgments that don’t materialize or if they do, they're more of a reflection on the giver rather than the receiver. Again, this is something that I’ve been tackling for more years than I wish to count. Realizing that I don’t necessarily need to embrace and embody others’ opinions is restorative and simultaneously hard to achieve. I can use my wisdom to decipher what is helpful and worth contemplating. Do I? Sometimes. It depends on how strong my emotional fortitude is at any given moment.
3. Many times, some of our worst fears are simply projections and not supported by what actually is. My concerns for how bad it might be behind and under the fridge turned out to be unfounded. What I did find was easily dealt with. Of course, I would have preferred not doing it, and continued on with my morning without the interruption. But now it’s off my to-do list at least until winter 2024. Mostly, I hope that my intent in sharing with her and with you will normalize our own perceptions and the conditions in our homes, maybe just a tad.

From grungy to shiny in mere minutes with little elbow grease and an eco-friendly formula.
Like my shiny new tea kettle? Indeed it’s shiny. It’s also far from new, more like 20+ years old. Bummer I didn’t take any “before” photos, I hadn’t intended to post this.
You’d think I’d keep something that lives on the stove, out in public view in tip top shape…always. Not so much. My tea kettle, that now sports a silvery shine, didn’t look that way at all as of this morning. It gets used daily, during colder months, sometimes twice a day to churn out steamy mid-afternoon teas. Living on the burners, splatters of sauces, oils, and other messy debris encrust the exterior.
Every so often it catches my eye, and I will think “I need to deal with that”. Someday. Today, with a break in my schedule, while the laundry spun away its last 10-minute cycle, I got to work. Using fine steel wool, and my go-to eco-friendly cleaning formula (a few shakes of baking soda, a splash of vinegar, and a touch of Dr. Bronner’s Peppermint Soap), I gently scrubbed at the grime working my way around the circumference. No question where the build-up spots underneath the bubbly cleaning formula, as the steel wool’s movement would snag with resistance. I thought for sure it would take longer than 20 minutes as this exterior was embarrassingly grungy. By the time the laundry cycle buzzed, I was drying the kettle, and refilling it with water for the next use.
No longer an eyesore on the stove top, the kettle is shining brightly like new. Not bad for this old thing.
A Vacuum Cleaner’s Life Lesson…Stand Your Ground!
Once again, this tip’s title probably has you thinking “what the?” Trust me. Trust yourself. You’ll see.
Do you experience low self-confidence? Do you frequently question your choices, what you think, what you believe? Do you have difficulty accepting you could possibly be right in the face of contrary information? Here’s a life lesson for you from my vacuum cleaner. Yes, my vacuum. And that is, if you’re absolutely certain that you’re right, without a doubt 100%, then stand your ground. Even in the face of contrary evidence, you may still be correct.
A Life Lesson From My Vacuum Cleaner
For the last several months, the bedroom level central vacuum system stopped sucking up hair, dirt, dust and other bits. Vacuuming was taking dreadfully longer with less than stellar results. Swiping over the same areas repeatedly left behind detritus as if I had never cleaned. Normally, the high-powered, turbo-charged system hyper-suctions to the point of ingesting unintended objects like segments of curtains, throw rugs, long-hanging clothes, and bed spreads. Vacuuming the entire upstairs took maybe 5-7 minutes. Now I was averaging closer to 20. And, there was no mistaking the audible difference. Normally the vacuum is fairly quiet. This hum was much softer than usual.
Attachments were useless. Even dust didn’t suction.
I began dreading this task. Each time I used the vacuum, I’d quickly get frustrated and attempt to remedy the situation without luck. I reversed the suction by sticking the hose head directly into the unit to see if it would dislodge clogs. I flipped the wall inlet valve door a few times to increase the suction, nope nothing helped. Both of those tricks worked in the past. The rest of the system worked fine, just not upstairs. The problem was isolated to this area.
Time for SOS
Finally, I relented and called for repair. The tech thoroughly evaluated the system, showed me intake flow statistics, and declared it performing as intended. Oh no, not possible, not even a little bit. Yet, he was the expert. As I tried to politely disagree, he assured me he knew what he was talking about. He’d been in this job 30+ years, what did I know? When I explained the sound difference, he stated that I must be mis-remembering. Really? Listen to the difference between the upstairs unit and downstairs. Not even close. He was a lovely man, but wasn’t buying it. Watch how many times it takes to vacuum up a thread or a crumb. He wasn’t interested. Statistics don’t lie. Well, I have a rather intimate relationship with all my appliances. I know every sound they make. How well they do the job. Washing machine…doesn’t dissolve powders. Dishwasher is silent except when filling or draining. Dehumidifier should be continually popping on and off unless the coils are frozen. I know how long it takes to get tasks done. Regardless what the stats say, this was taking too long, with poor results, and no suction sound.
My Victory, My Vindication

The clog was at the intersection of the hose head where it meets the hose. I keep tape over the suction hole to keep it closed. I removed the tape to pull out debris through the hole.

Slowly bits of debris began to dislodge the clog
Fast forward to last Wednesday afternoon. I had time in my schedule to clean upstairs. In less than 5 minutes, the bathroom was sparkling. Time to vacuum the bedroom and bathroom. Of course, my attempts to tackle the hair and dust balls scattered around the floor were fruitless. The duster attachment wasn’t picking up a thing on the window sill and trim. The rug attachment left schmutz on the bedroom carpet. Arrghh. I stopped before I lost my cool. I grabbed a bunch of tools, a nail file, a hand vac, a steel sharpener, and a mangled hanger. The straightened metal on the hanger stopped a few inches into the hose head. A stubborn blockage clogged the intersection between the hose head and the hose. And it was thick. I got to work. Over and over I poked and prodded. Slowly bits came forward. Lots of hair, a bandaid, pieces of wood, and giant dust balls started coming out of the little suction hole on the hose head. The nail file did a great job of helping to release strands from that little hole. But the blockage was intent on defeating me. I sat on the floor for nearly 30 minutes working through this obstruction. I wasn’t giving up. Finally SUCCESS!! All told, the clog was probably about 4 inches thick, but when it released it was sweet victory. That sound, the familiar sound returned. Hyper-suctioning syphoned the mess of debris despite my hand holding the hose a few inches above the surface as I finished cleaning out the remaining hairs. My vacuum was back. I was right. Sweet victory.
The Lesson and All It’s Glory
My husband walked into the bathroom, glanced at me on floor amidst tools, vacuums (the hand-held and central vac), and filth. He asked “what in the world are you doing?” I proudly declared that “I learned a powerful lesson!!” I was right. I knew I was right. I almost let “the expert” convince me otherwise. Not anymore. In the end, I was slightly ticked that the repair cost was quite high while the problem had remained. I let him off the hook too easily, too soon because I didn’t have the resolve in that moment to insist I know what I’m talking about. The mere vindication was so sweet that it overrode the irritation. And, despite the loss of 30+ minutes, I finished the entire upstairs in 5. SWEET efficiency!
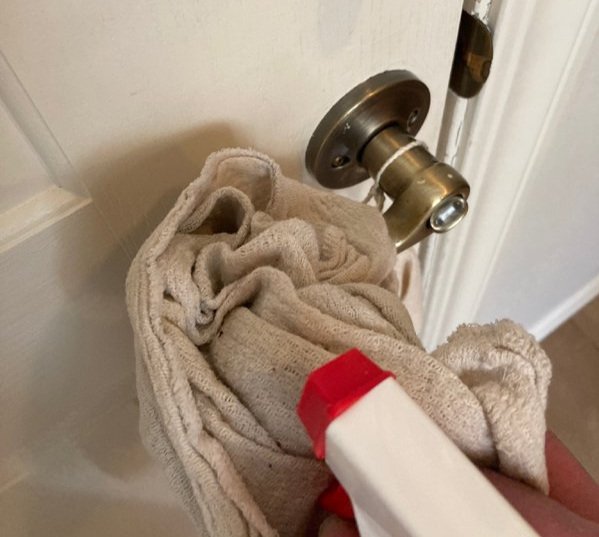
Quick spritz and wipe, then move on to the next side.
When was the last time door knobs, handles, and locking mechanisms in your home were cleaned? Think about the many visits to schools, grocery stores, on-site job, medical offices, pharmacies, coffee shops, restaurants, and hair dressers. Germs are wandering into your home on unwashed hands, it’s not a bad idea to sanitize where and when you can. This time of year pesky germs and illness abound.
If it’s been a while, grab your favorite cleaning product, a rag, and a headset for your favorite music, podcast or catch-up phone call. Make this exercise into a game. See how many door sides you can knock out in under 5 minutes. Game clock still ticking? Include closet doors and a few cabinet door handles as well. How about choose one room a day or category of doors such as entry way doors: front door, back door, garage door, patio door, handles both inside and out. A rapid spritz, quick wipe, and move on to the next side, then the next door. Toilet handles are often overlooked when cleaning the bathroom. They’re a germ vector. Each bathroom will take mere seconds.
If you don’t have time before the holidays, once the guests leave, this little exercise is a pure health advantage. Keep their memories with you, not the germs.
Wear Twice (or more), Wash Once
Do you prefer wearing your jeans more than once before tossing in the laundry? Do you have difficulty remembering if you’ve worn them since laundering? If so, try this tip. Leave a hanky in a pocket. Or something that won’t get ruined if it ends up inadvertently in the washer. It’s advisable to check all pockets prior to tossing clothes into the machine, just in case. Even tissues can leave a nasty mess in the washer and dryer. Speaking from lots of experience.

Stuff a hanky in the pocket to indicate prior wearing.
Unlike shirts, pants aren’t as likely to get sweat covered. And unless you’re gardening, working on construction, or some other grimy activity, you might be able to get multiple wears before laundering.
Less laundering means less wear and tear prolonging the life and look of your jeans. Longer use means more savings and less hassle. Occasionally leaving them out of a load means more room in the machine for the clothes requiring a refresh. Less pieces in the machines means less time folding or hanging completed loads saving you precious minutes. More machine space and less loads means energy and money savings. Overall, less is a win/win.
If you’re not sure if you should toss them in, give them a once over and a whiff. Let your eyes and nose make the decision for you.

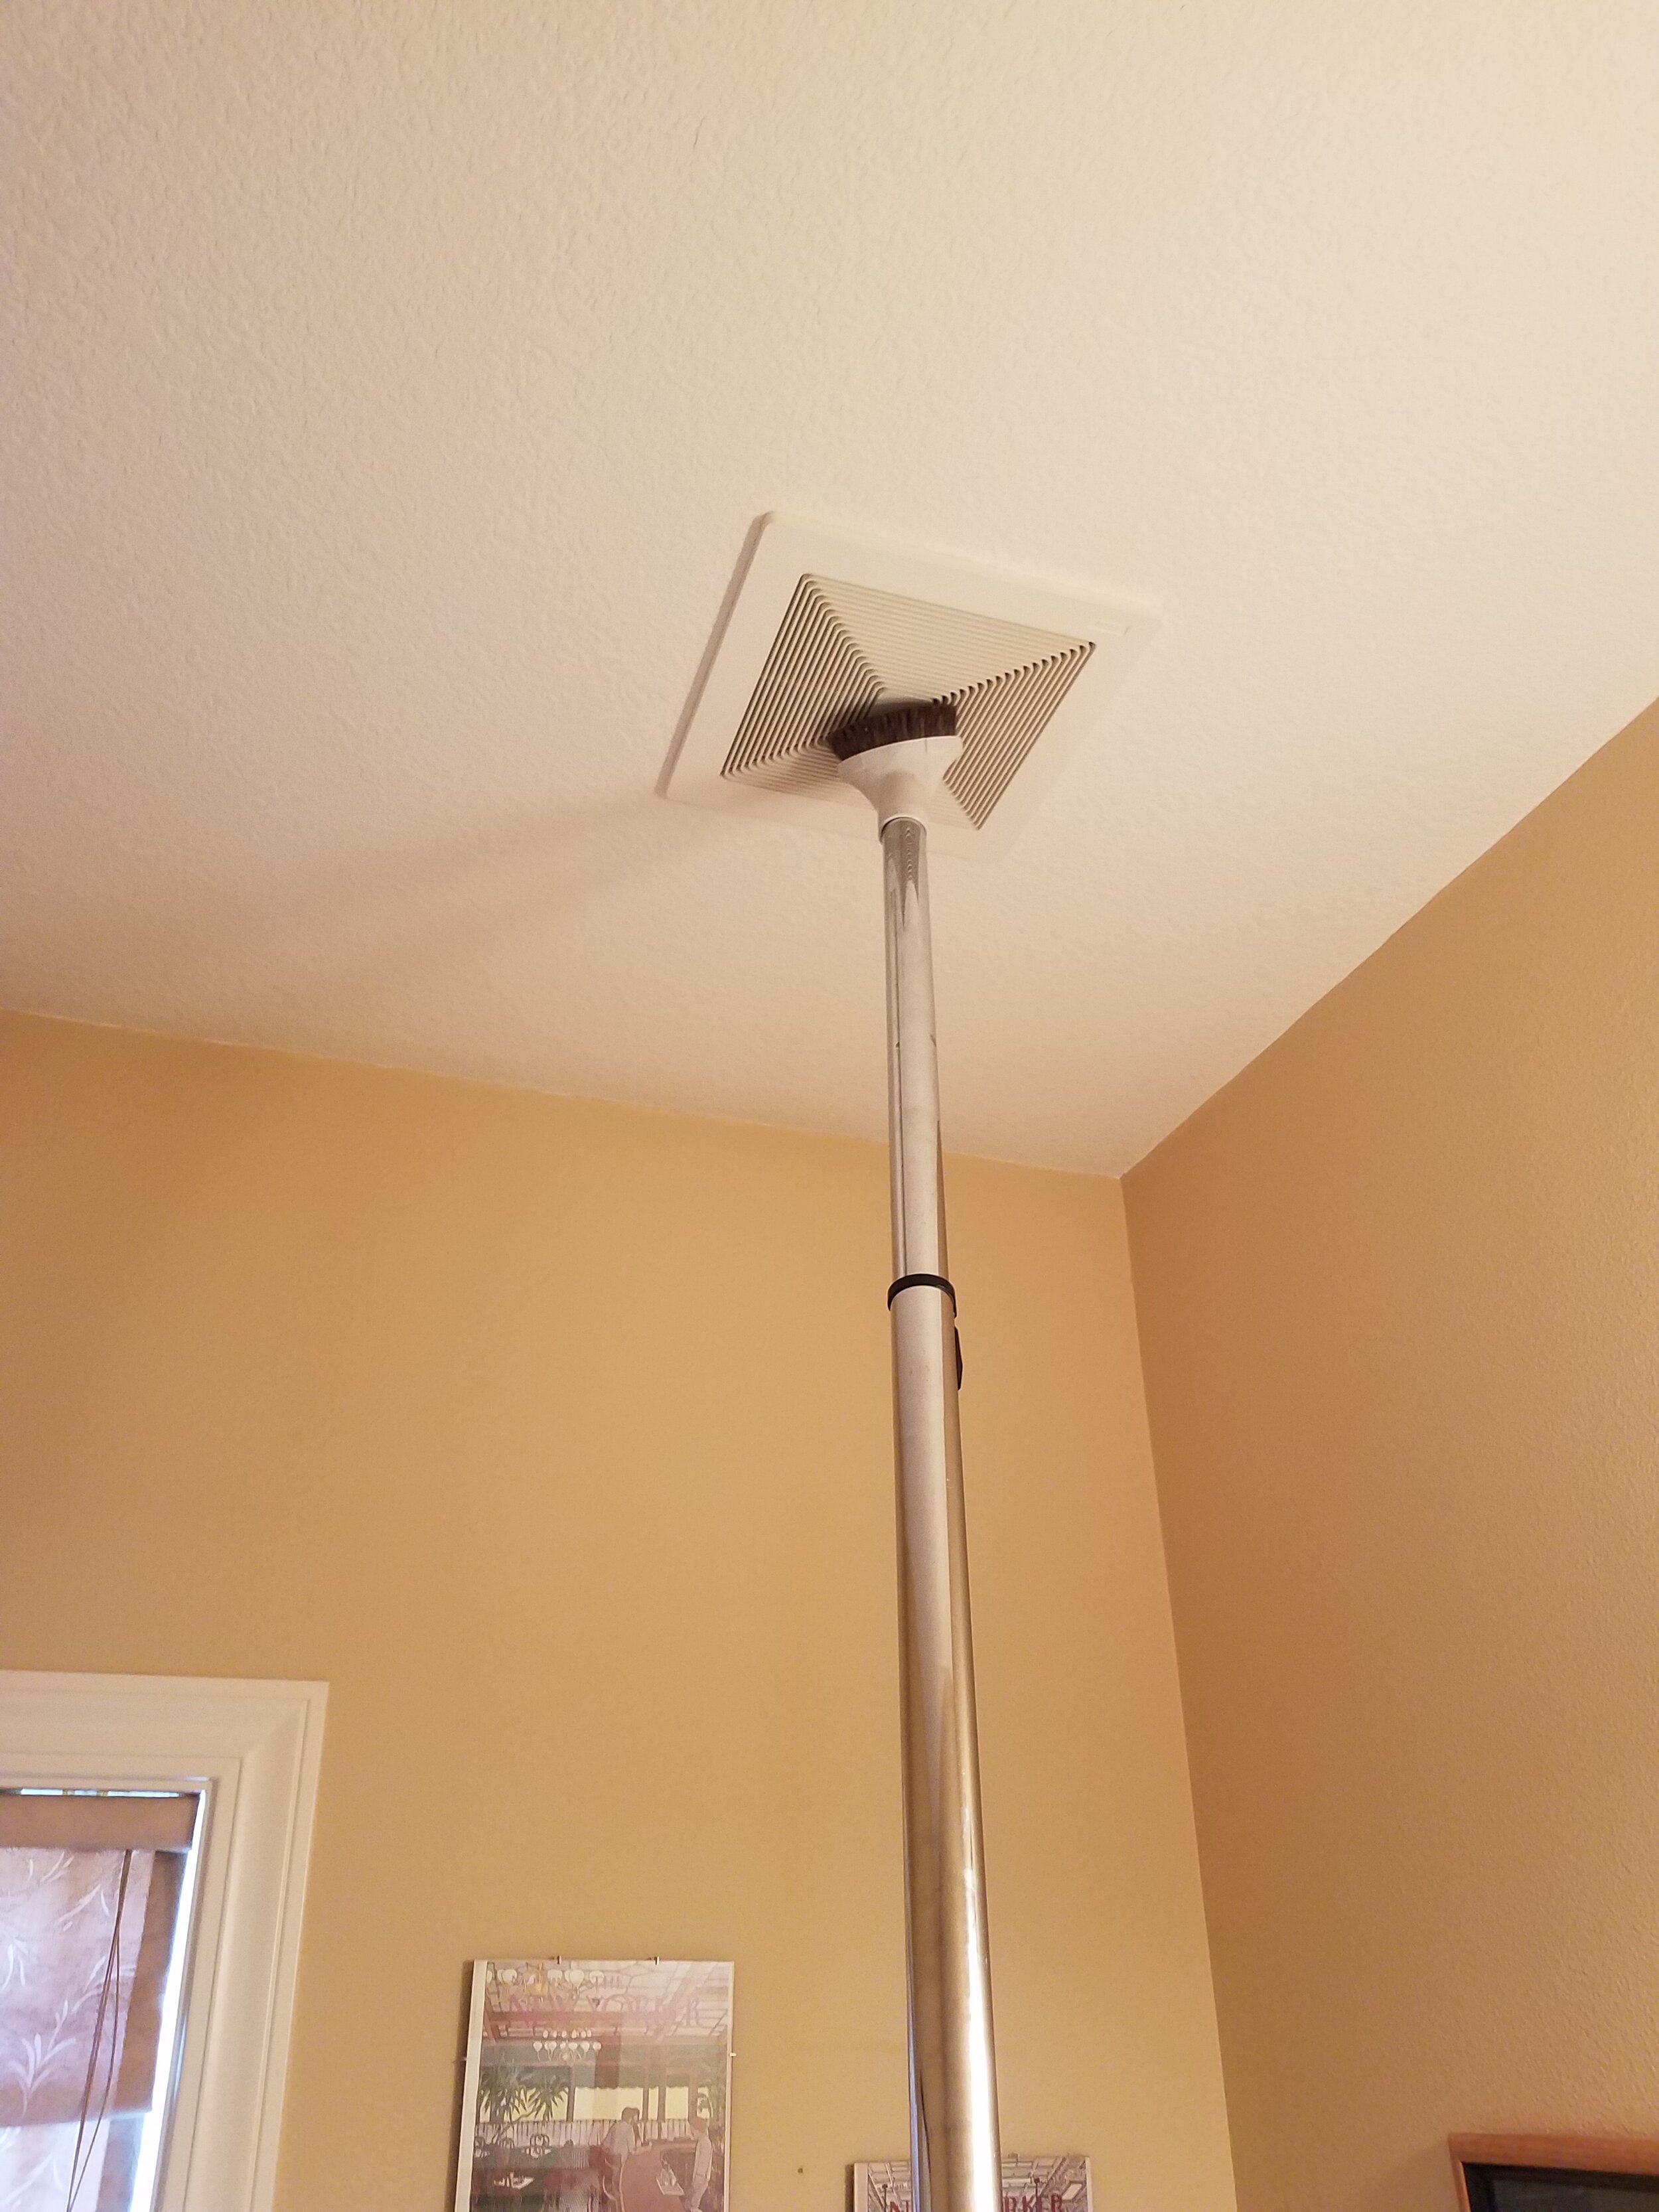
Weather is heating up. Time to clean your ceiling fans before you shower yourself with an allergy-inducing dust fest. Achoo.
In less than 5 minutes, I checked off my primary bedroom fan, something I’ve been meaning to do for weeks. Done!
Here's what you need:
- A ladder or step stool
- Sturdy shoes
- Old sheets to place under the ladder or stool to protect carpet or flooring, and upon any nearby furniture or bedlinens
- Hand-held vacuum or appropriate attachment to your vacuum cleaner to quickly and controllably zap away dust
- Damp rag
- Sticky note
After laying down the sheets, and assembling the ladder, carefully vacuum then wipe down all sides of each blade and the base with a slightly damp cloth. Be careful if heights or physical challenges are an issue. You may wish to have an assistant hold the ladder, and hand you the supplies. Also take care as you proceed not to knock the fan off alignment.
After cleaning the first blade, mark it with a post-it sticky note to keep track of where you started to avoid redos. Save the post-it for future use since it will still be usable.
Voila, you’ll be done in no time. On to the next fan, or put the assemblage away for next season. Check mark!
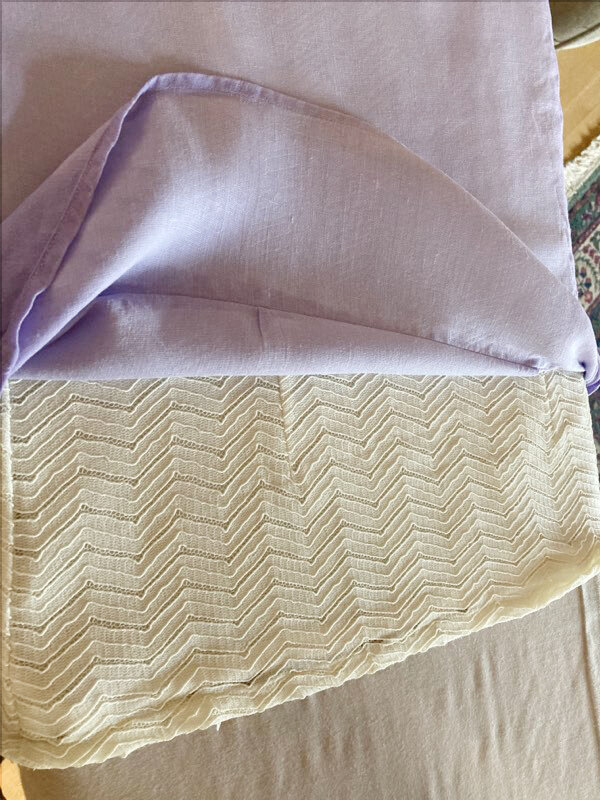
Protect delicate fabric by placing the sturdier top over the fine fabric
Delicate Ironing
I prefer to iron when my clothes are damp. The process goes faster eliminating the need to re-dampen them to thoroughly alleviate wrinkles. Most of the time, damp ironing also avoids the need for starch.
Last week, after washing two of my favorite blouses, I had little time for ironing while they were still damp. One of the tops technically shouldn’t be ironed due to the fabric. It’s slightly off-white, so I also get concerned about any dirty steam that occasionally emanates from the iron. Therefore, typically I place a thin rag over delicates or light-colored clothes as I iron.
Being in a rush, I opted to try ironing both tops simultaneously. The linen blouse is super thin light colored, and decades old, so I had no worries about color bleeding onto the white. I carefully placed the lavender linen top over the lacey top and ironed them together. I held the iron down for a count of 8-10 as I moved my way over each section of the two shirts.

Encase one top under the other
Voila, I zipped through the ironing. Both tops were wrinkle-free, and the white lace was protected. Win-win. If you decide to do this, proceed cautiously and be sure to have the iron on the appropriate setting. I set the iron to linen, and it worked like a charm. Thankfully, the iron didn’t choke any rusty debris out either after I gave it a few gentle taps before beginning. Finally I hung them up in the laundry room so that they would remain wrinkle-free until I was ready to run them back to my closet.

Hang immediately to avoid more wrinkles
Outdoor Dryer Vent TLC
Here’s something that most of us never think about. Obviously from the look of mine, I rarely do. It’s the outdoor dryer vent. Are you good about cleaning your dryer vent? A while back I wrote a tip about the benefits of keeping the dryer lint screen clean. You can preview the tip here. Frequent cleaning of your dryer vent will:
1. prevent dryer fires due to lint build up
2. increase the efficiency of your dryer while reducing drying time
Because the lint screen is easy to access and mostly visible, I imagine that you’re more likely to keep on top of removing the lint from there.
But…what about the outdoor vent? Your dryer should be vented to the outside of your home, and if it’s accessible, which it may not be if you’re in an apartment or condo, you should consider cleaning the vent outlet every so often. If it’s in accessible, you may wish to contract with a professional vent cleaner or contact your apartment supervisor.
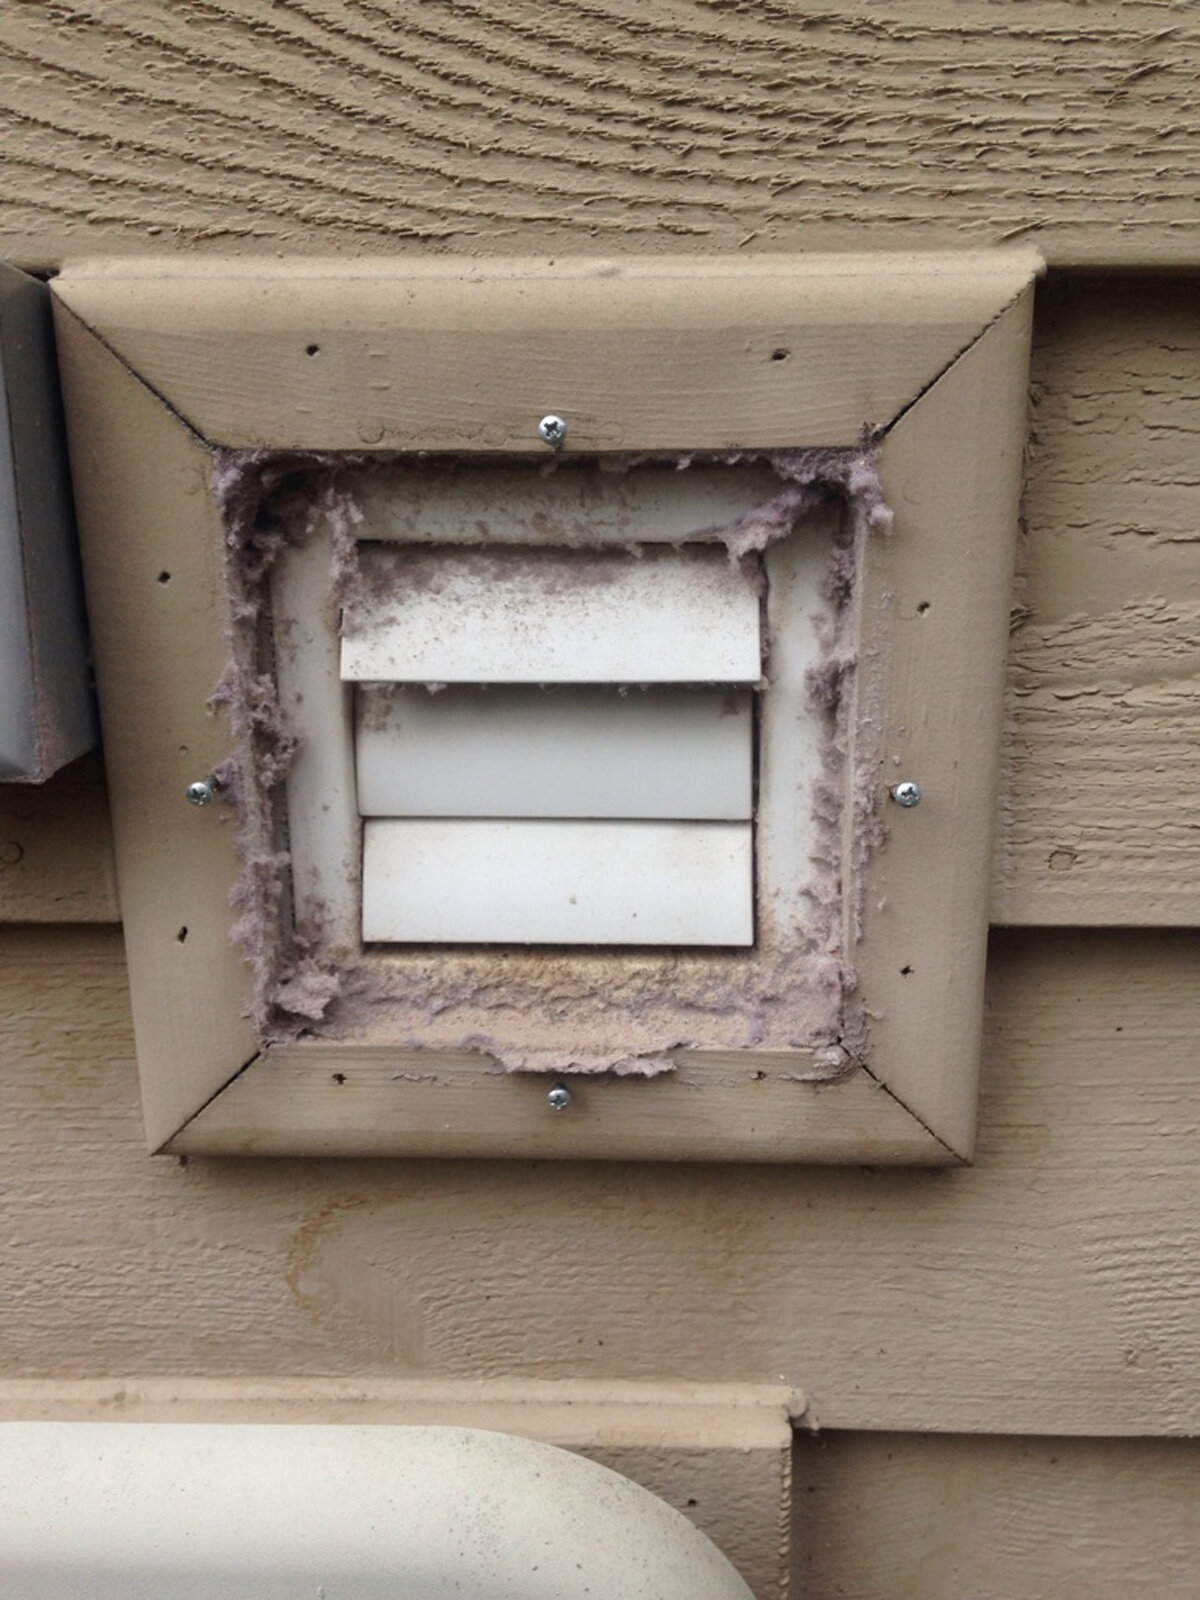
lint coated outdoor dryer vent can be hazardous
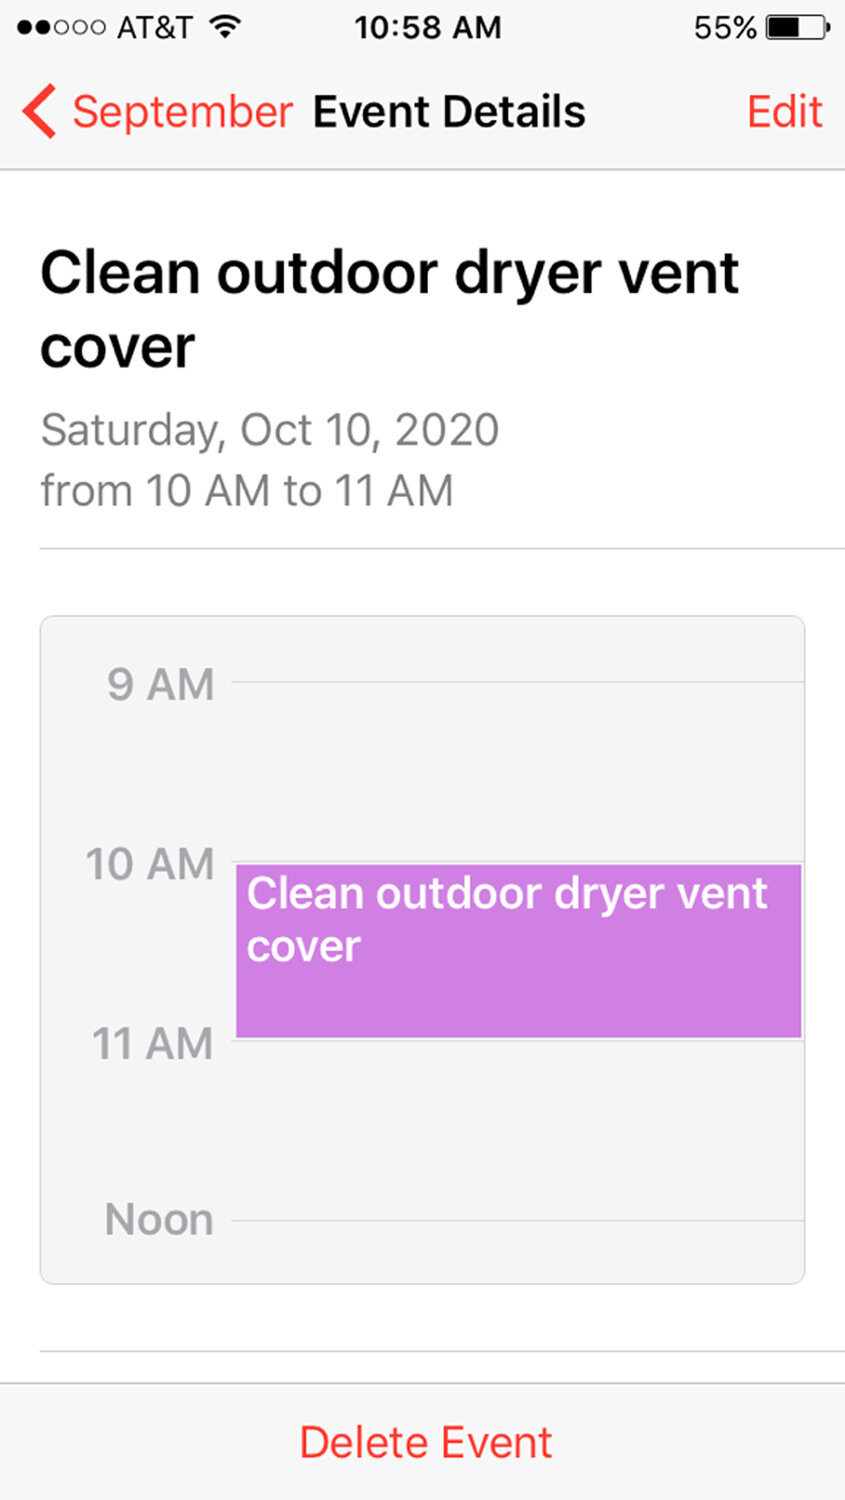
I’ve set an electronic alert as a reminder to clean the vent at least twice a year once in the spring and again in the fall. If I’m outside gardening, and happen to notice that it needs a little extra TLC, I give it a quick cleaning then too.
I use a portable vacuum, an a long narrow vacuum attachment, a rag and screwdriver. We have an additional vent cover screwed into the siding due to an issue with vermin entering the vent. That cover easily unscrews to allow access to the vent.

Fortunately, we have an electrical outlet near the vent. In less than 5 minutes, it was pretty dang clean. Believe me, there was a lot of buildup. Afterward, my drying time seemed to speed up and no more unsightly mess on my house wall.
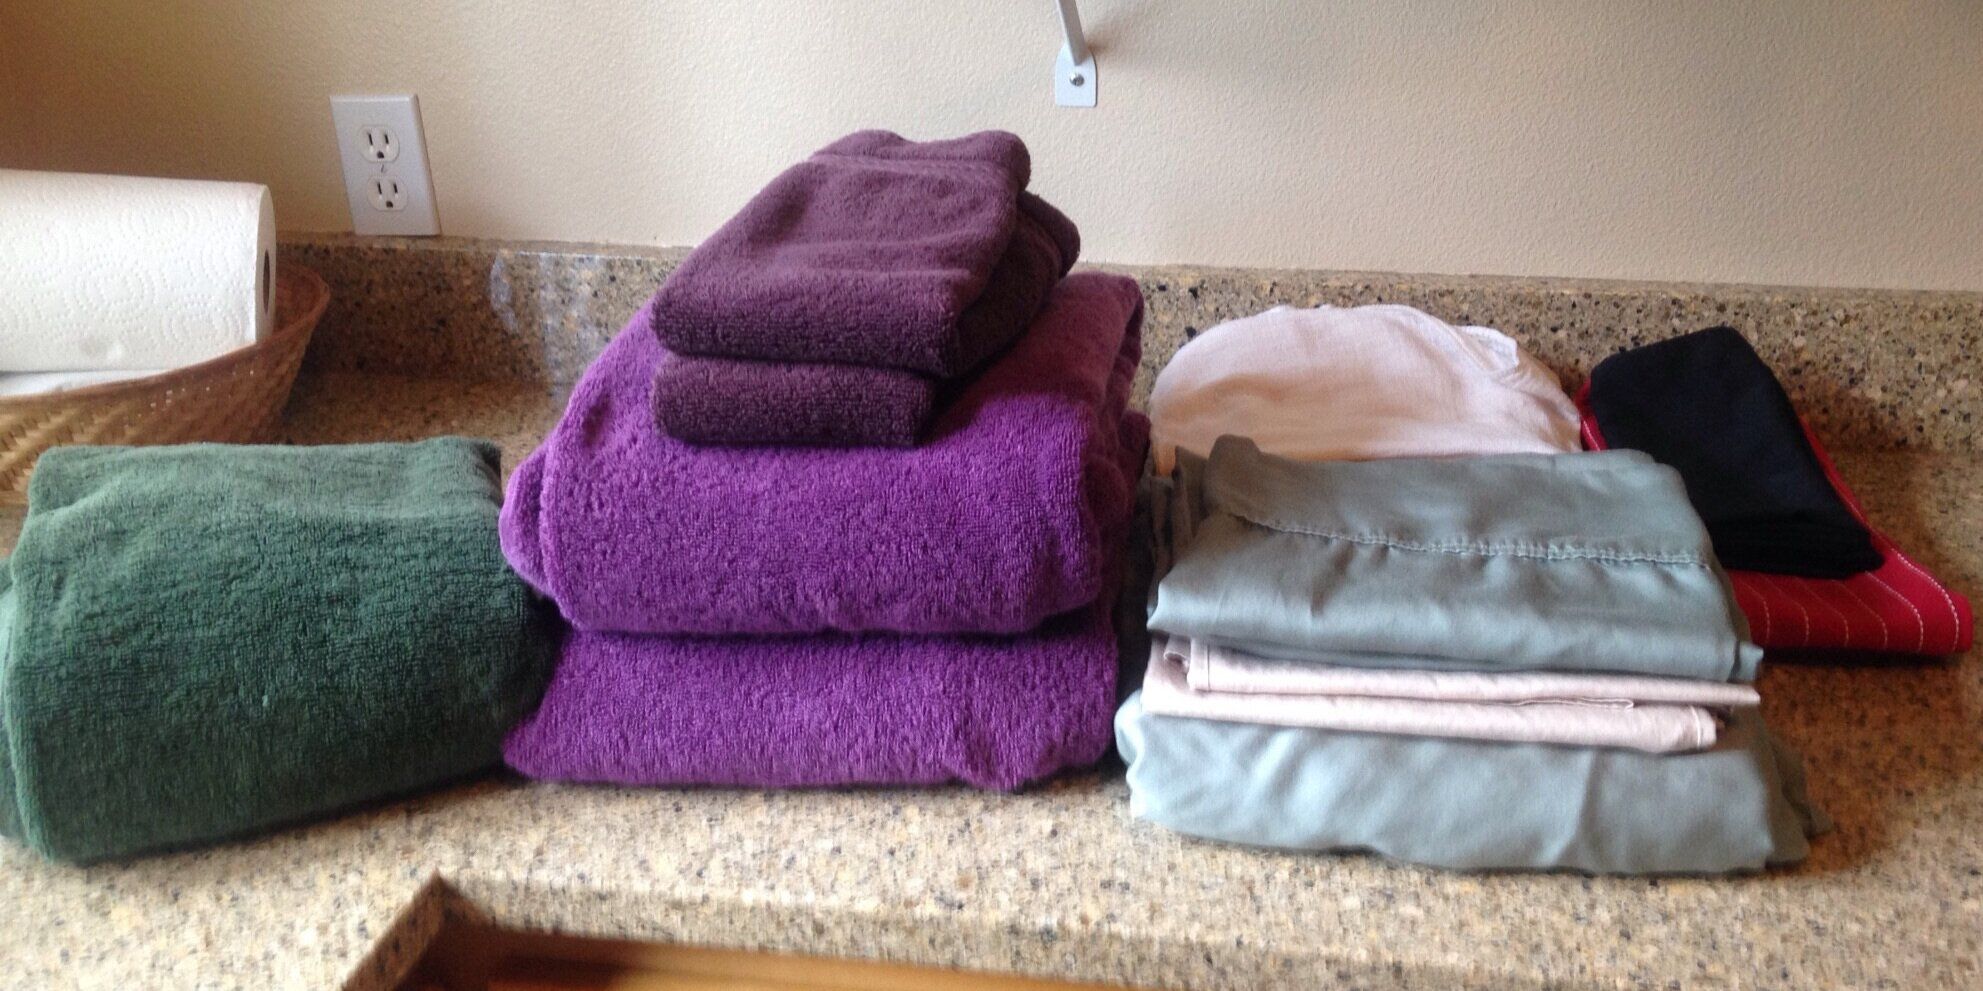
Sort clean linens and clothes by user, room, and purpose for fast put away
Simplify Your Laundry with Put-Away Basics
For many of you, this might seem like a ridiculously elementary tip. Others struggle with laundry piles and overwhelm. How do I deal with these piles? How can I make this easier?
When a load finishes give this a whirl.
You’ve run a load of linens. After drying, sort them into folded categories (yes, we organizers love to categorize). Create whichever categories make the most sense for you. These were sorted by room, then purpose, so as I walk around my house, I can drop off the bundles at their destination. In fact, I load my arms in order of the rooms, then according to room layout.
For instance, the purple bath sheets will be at the bottom as they will not only be placed in the last room on my drop-off journey, they will be at the back of that bathroom. Next are the purple hand towels, as they are closer to the bathroom entry. On top of those are the sheets and pillow cases for the master bedroom night table, then kitchen rags, cloth napkins and hand towels, and at the top is the green towel for the powder room next to the laundry room. Those towels are at the top because the powder room is #1. Fold, sort, grab, and go. Easy.
In fact, super busy? Invite other household members into the act. Let them know that the laundry is awaiting them. For the kiddos, this helps to build autonomy and responsibility. Consider building in boundaries with:
Carrots: as soon as the laundry is dealt with, we can pop the popcorn and watch a movie together.
Sticks: no electronic gaming until the laundry area piles are removed and properly put away properly.
The cool thing about organizing is that once you get the hang of it, you can craft it any way you like to make it work for you.

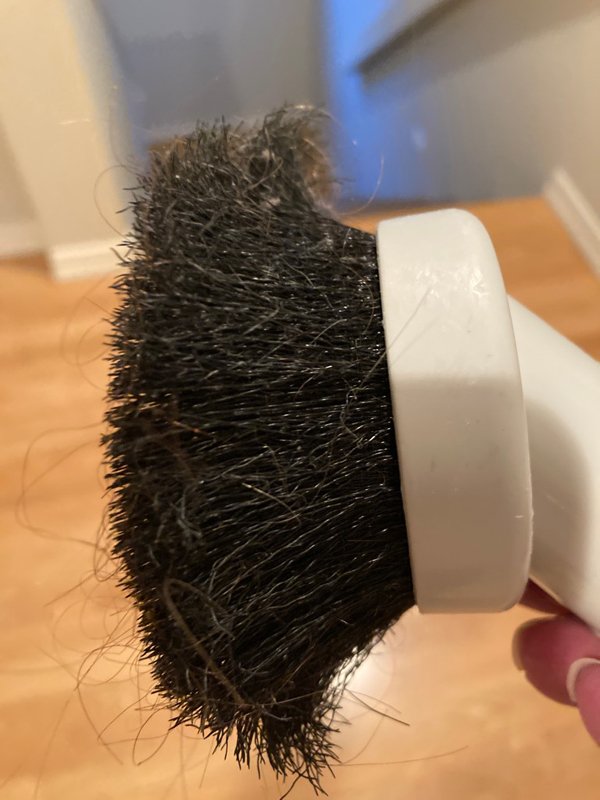
Like that will be effective
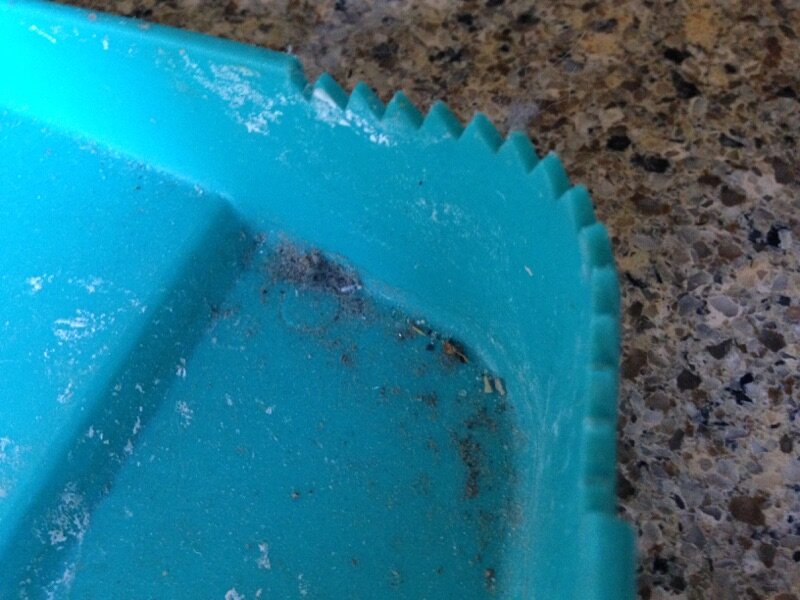
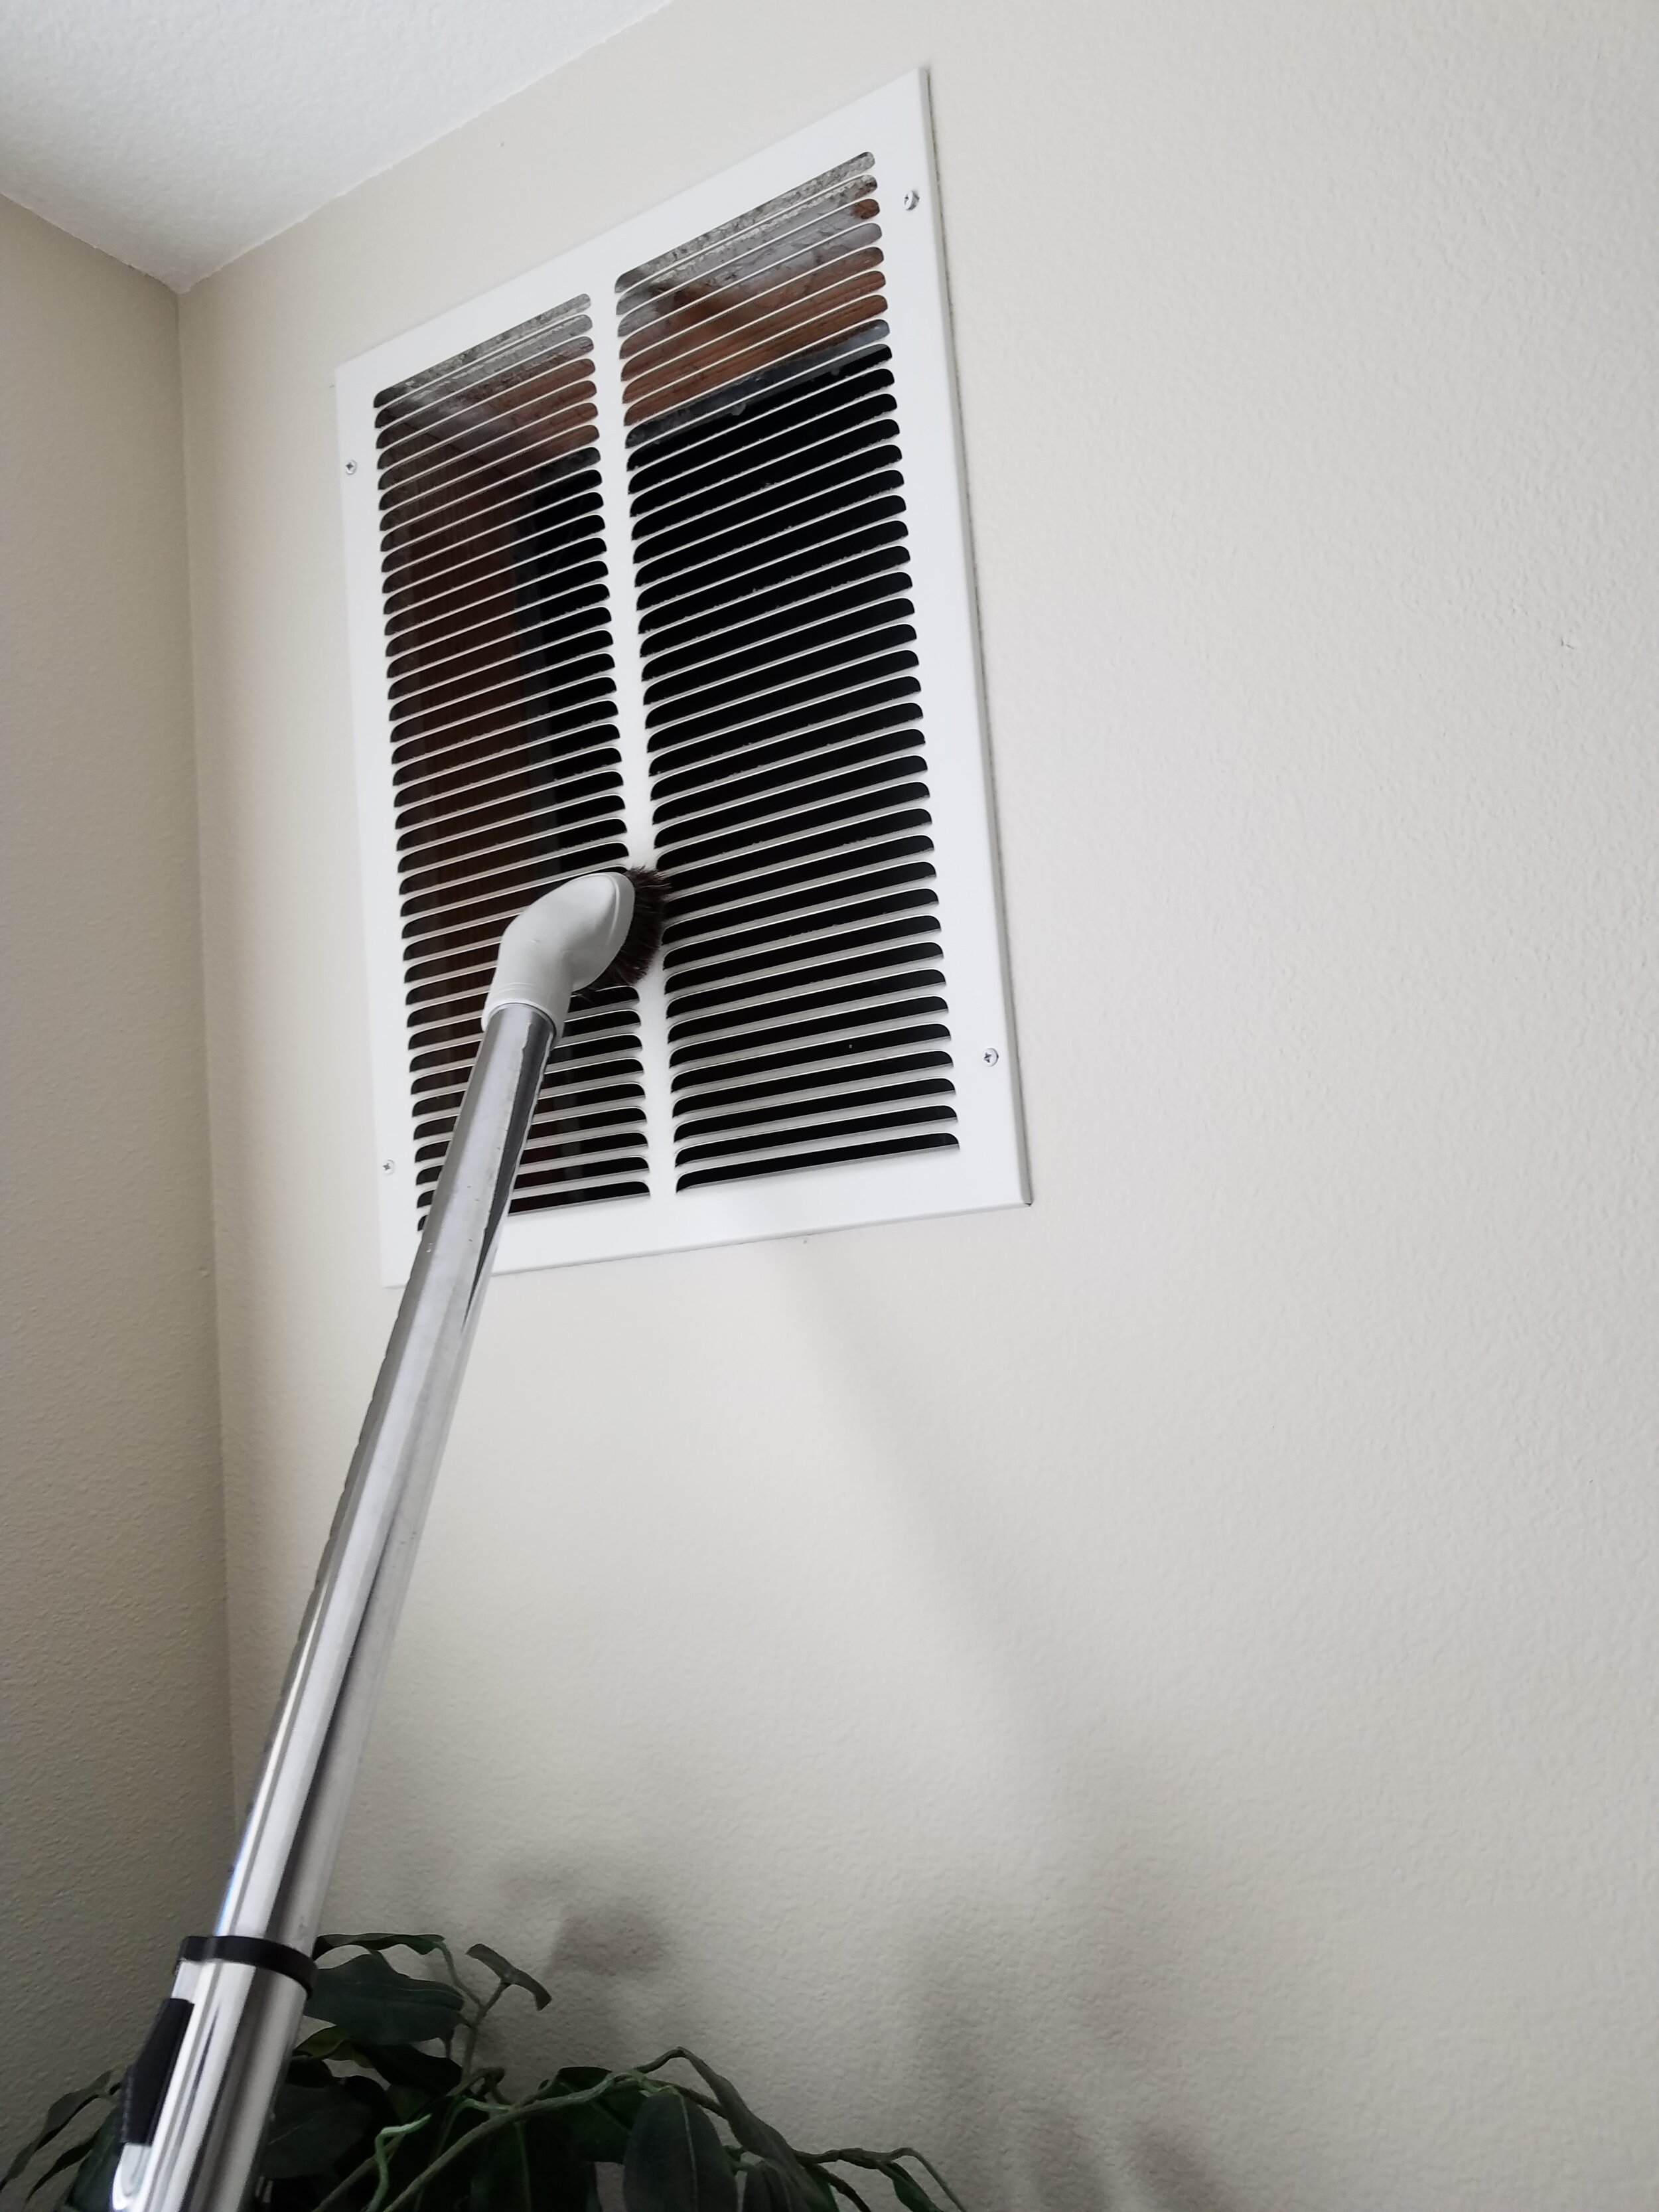
Well no wonder my vacuum’s duster attachment was virtually ineffective. As you can see, it was a mostly clogged with lint, dust, and crumbs. At the end of each use, I run the vacuum over it to clean it up. Occasionally, I need to stop midway through cleaning to clear it out as well as happened here.
Previously I used to have an old comb to run through the bristles to dislodge caught snarls of hair and lint, but that comb broke. Now I use the teeth on a dustpan. Normally, I run it through the teeth a few times and that gets the duster relatively clean.
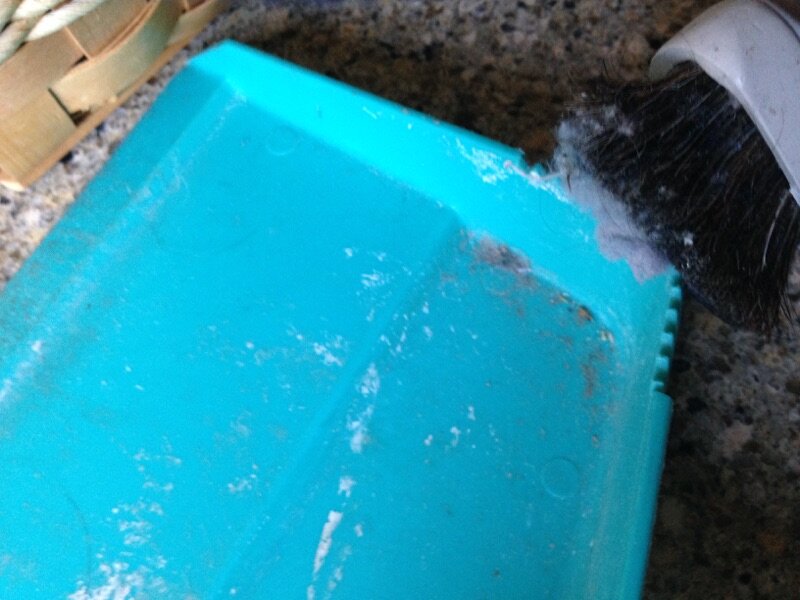
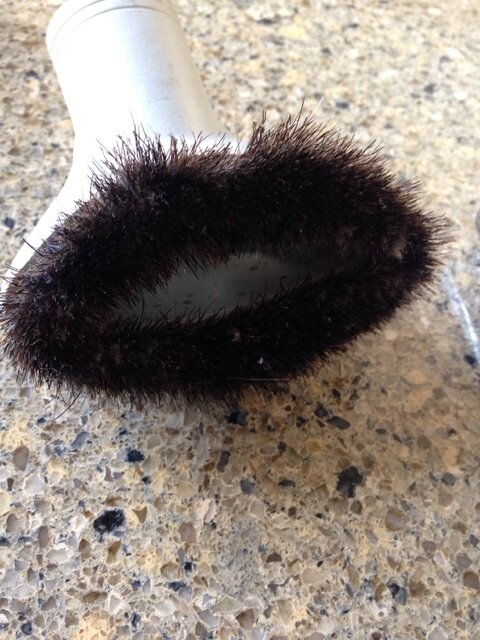
As I had plenty of spare time today, I opted to give it a little extra attention. The more I combed through the bristles, the more debris kept shedding. It probably took about 5 minutes to really clean it out. Then I gave it a once over with the vacuum for the remaining bits. You might choose to pull out your mask to wear before you start as I was surrounded by a dust cloud. Then toss your mask in laundry if it’s washable.

After removing the major lint pieces, I worked with the dust pan teeth for quite a while. This is what was hidden in the recesses of the brush.
I love my vacuum attachments. They’re great for quick furniture dusting when the dust and pollens are unusually thick after the windows have been open in the spring or when summer wildfires leave remnants of the smog on my chairs and tables. I also run the duster attachment along my baseboards approximately once a month to prevent too much grime buildup. If you have pets, this is a highly efficient way of removing pet hair from your baseboards if the attachments aren’t gunked up with grit.
Yoga Mat Maintenance: An Extra Layer of Clean
Are you a fitness junkie? Do you use a yoga mat? Most people probably give little thought to cleaning their personal yoga mats. Do you? If you rarely do, here is a little trick to ensure that the yuck from your fitness center floor (when we’re finally allowed back) or your basement floor is not coating your mat. Fold the mat in half prior to rolling it. Yep that’s it. Rather than rolling the part of the floor side of the mat onto the clean side, this tip will avoid the 2 sides from touching when rolled. Try it and see if it works for you. I have to roll mine fairly tightly to get it to fit in its case, but it works and stays cleaner longer. Every few months I give it a wash down with a mild detergent and water, then let it line dry.

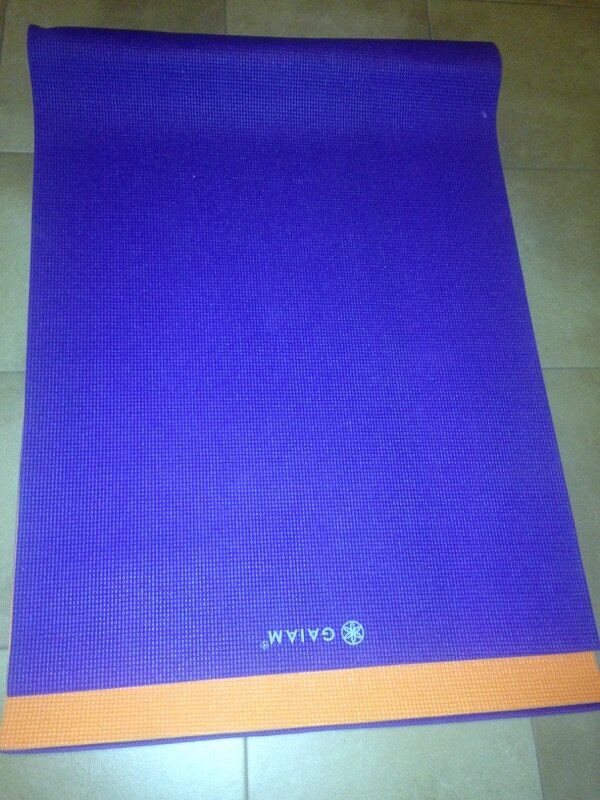
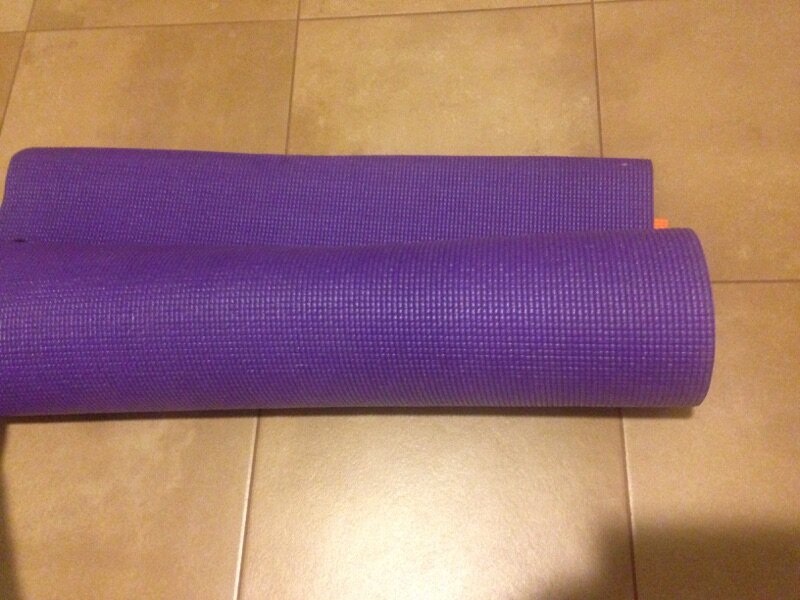
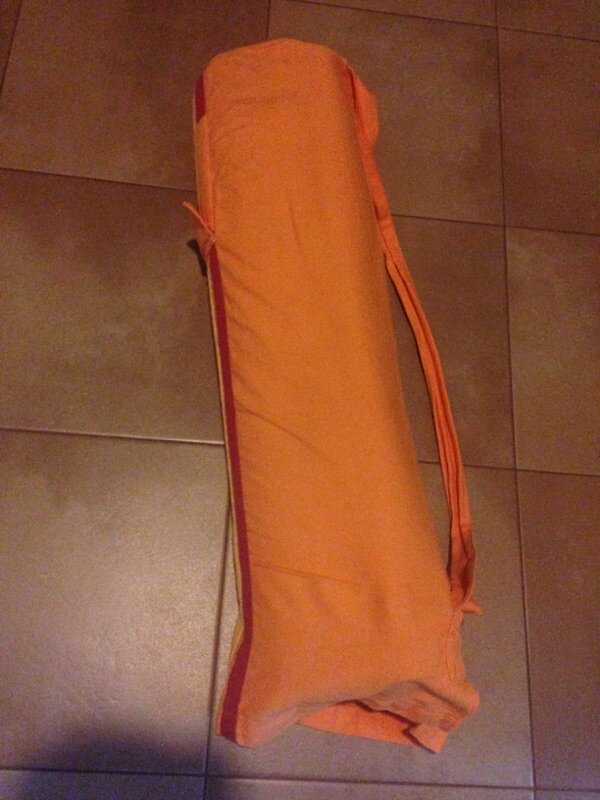
Start by folding your mat in half. Due to lighting, the purple mat looks blue above, but it is really the purple folded in half. After folding in half, start rolling. You may find it fits better in your case if you start rolling from the folded side and wrapping very tightly. I like using 2 mats for extra comfort on hard surfaces. When you’re finished rolling, then slide the mat(s) into your tote.

Typical weekly cleaning only addresses the showing parts of bookshelves. Not this time, I removed all the books to wipe away dust buildup on the entire shelf. Each day I will focus on a new shelf when I have spare minutes.
Scr*w Spring Cleaning
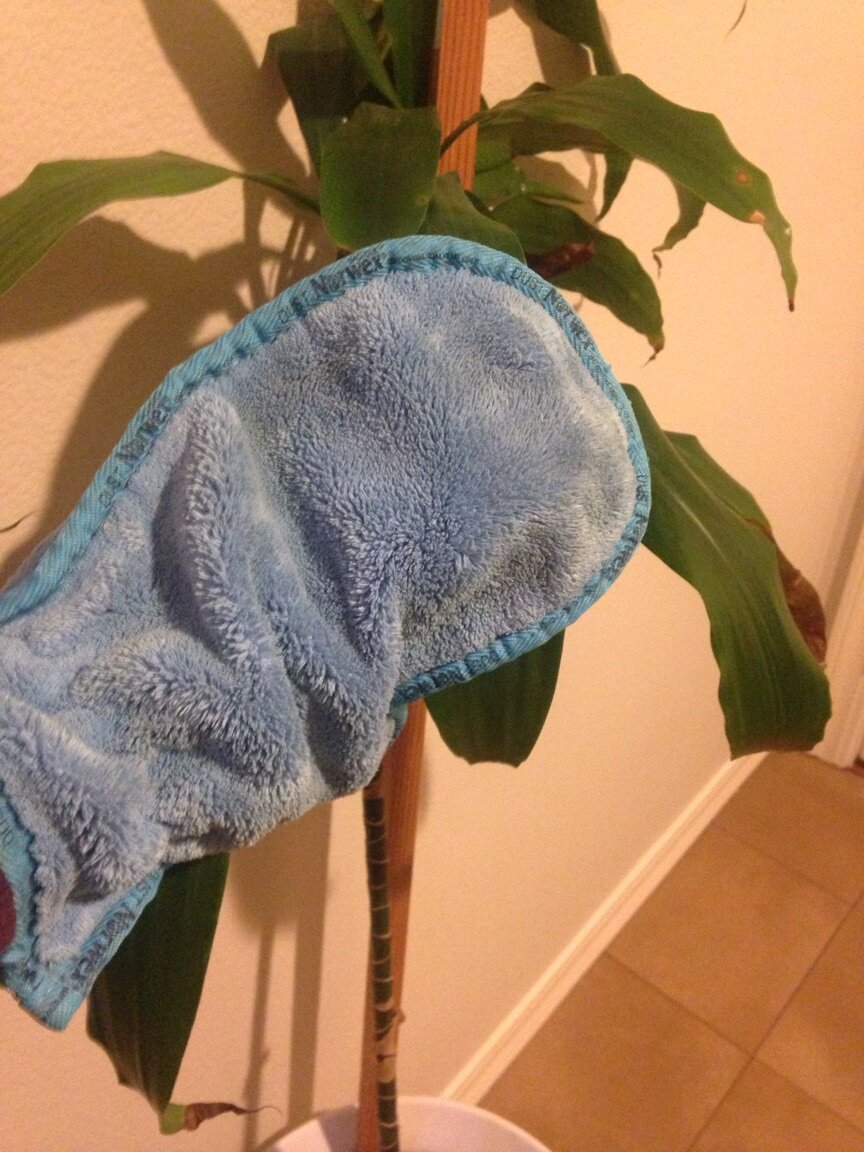
Apologies if you’re a spring cleaning fan, I don’t wish to offend. It’s just that I’m trying something new. Spring cleaning has always been a seasonal ritual for me. Well not this year. New plan of attack on those cobwebs, hidden dust bunnies, and buildup of crap. I love spring, the blossoms, the colors, the scents, the glimmer of occasional sunshine, and the promise of forthcoming summer months. So then why do I devote extra time inside purging, scouring, and dewebbing when I could be enjoying prepping my gardens and relishing the season I adore? The other thing is that I am frequently a bit lethargic and sneezy in the spring due to allergies, so while I have the verve and need the activity to stay warm in my perpetually chilly home, I might as well be on the offense when I have spare moments. Like wearing a duster mitt as I bop down the stairs and give the banisters and artwork a quick swipe.
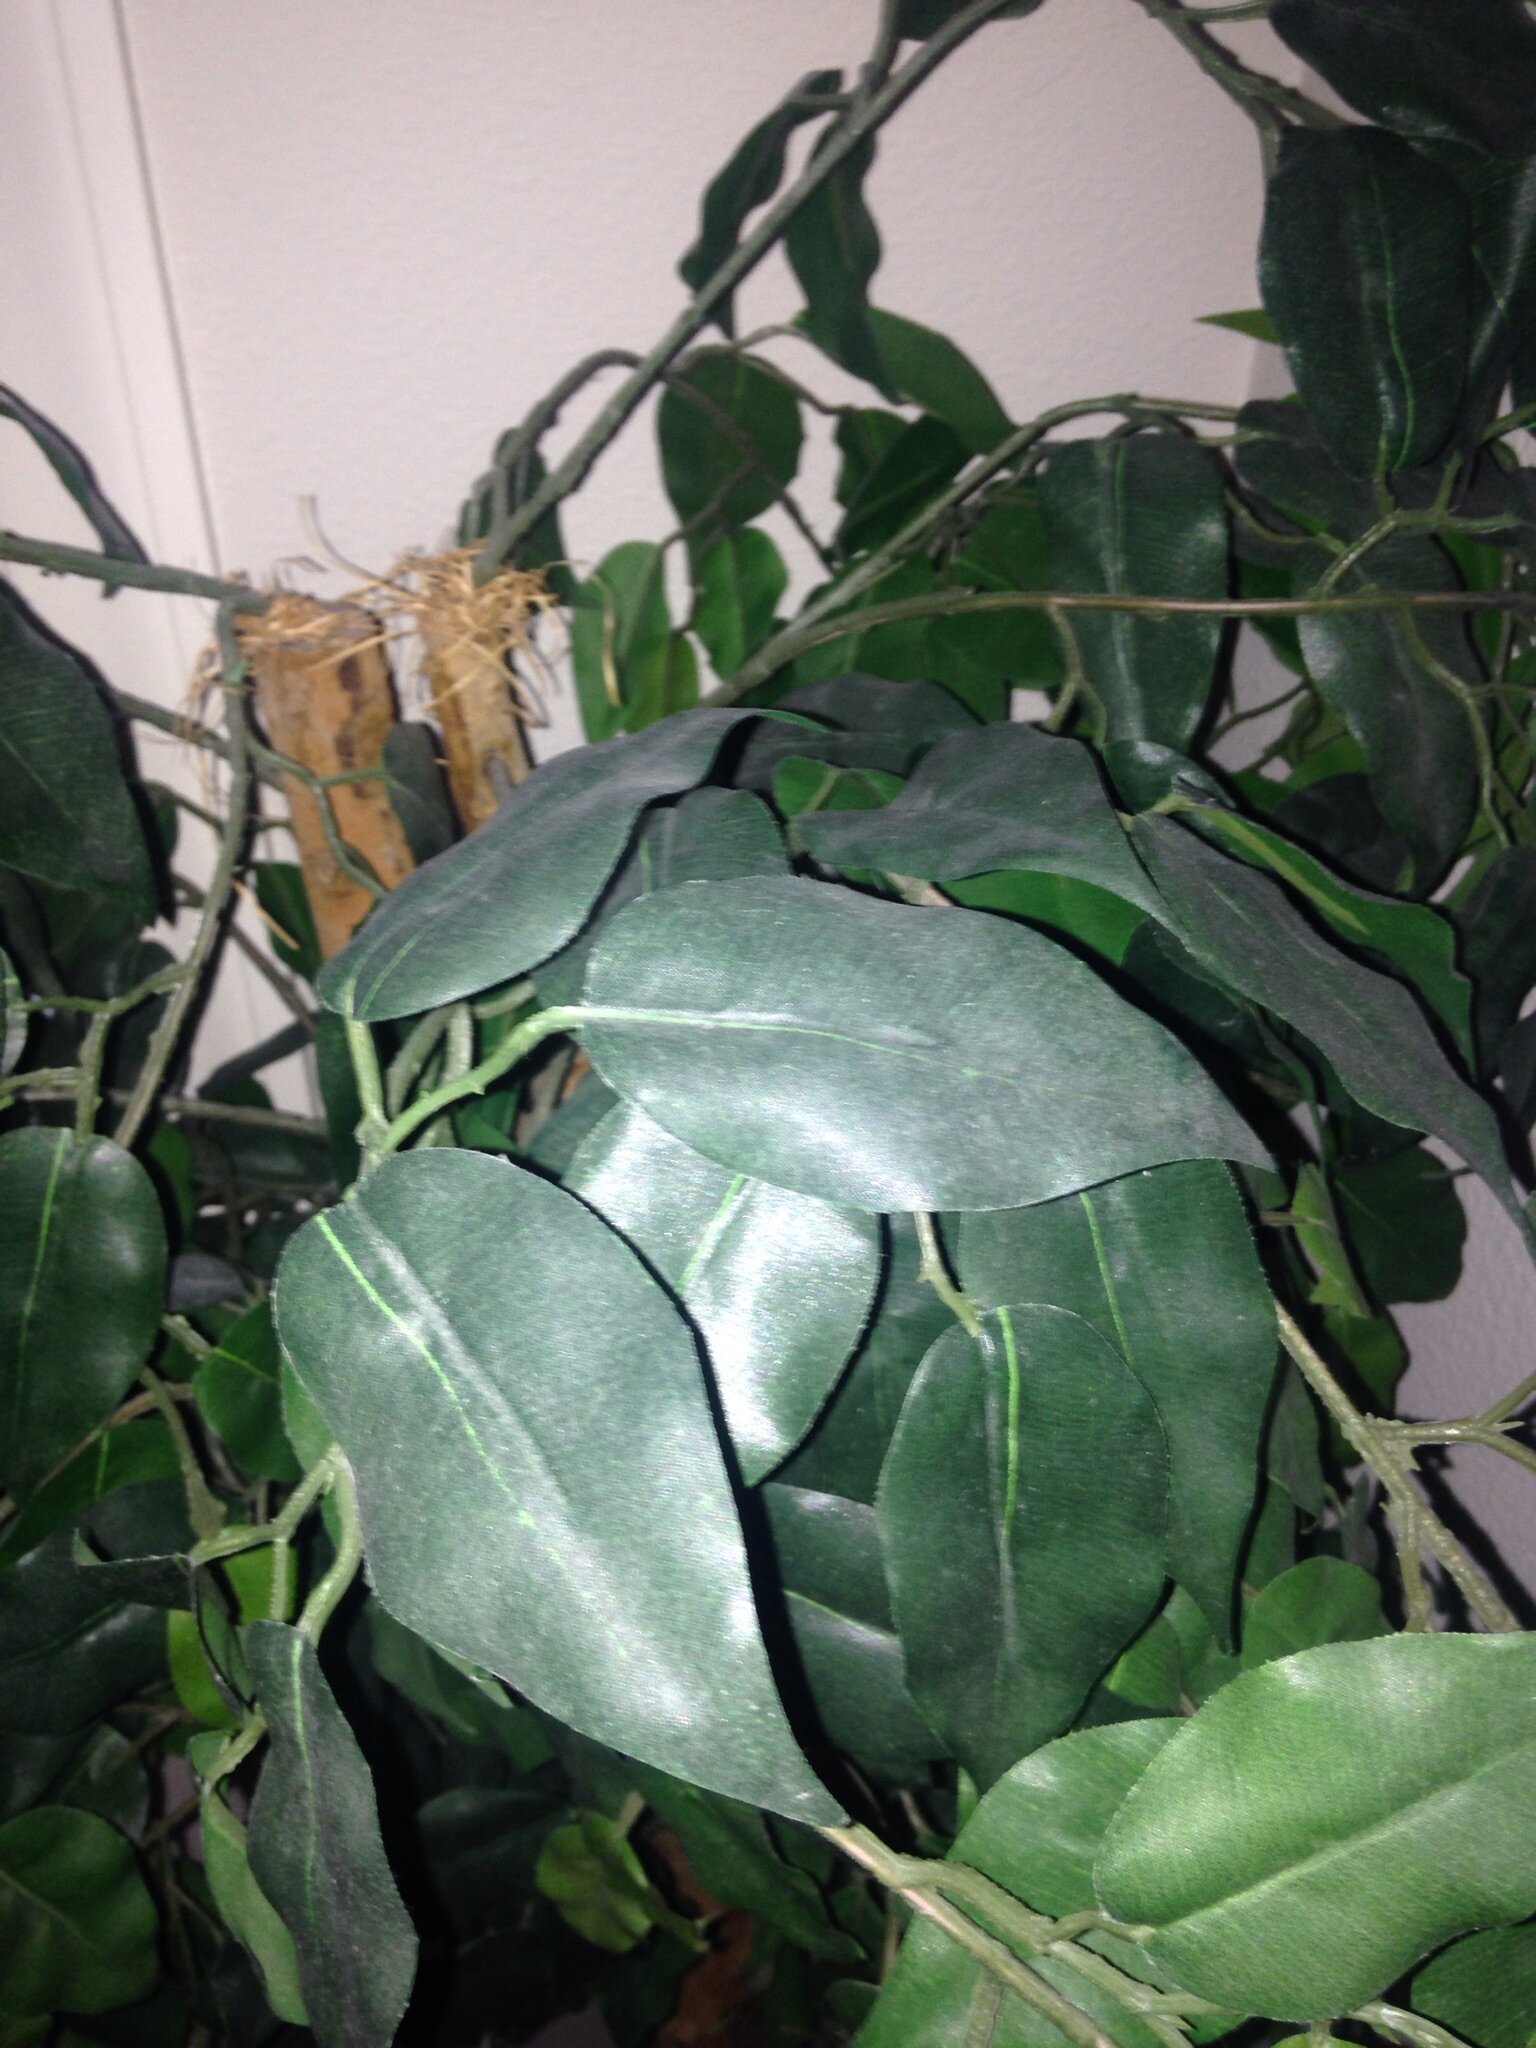
That Ficus is so freaking dusty. Into the tub you will go.
Freshen up your living and artificial plants with a few swipes or bath
So far I have vacuumed the undersides of stairs, embarrassingly I rarely do that. I have cleaned the tops of my cupboards, shredded my 2019 bills that have been reconciled and I no longer need, pulled all the contents off one office bookshelf for a thorough dusting, and swabbed the leaves of 2 of my large indoor plants, and dunked my artificial plants in a tub of water. Next up curtain washing and ironing.

Goodbye old books and gadgets
In addition, I have been selecting one item per day to release in my efforts to unburden my legacy. You’ll be seeing more about that in weeks to come. It’s my theme for 2020 personally and professionally. This project has been wonderfully freeing, and surprisingly easy to accomplish.
So if spring is one of your favorite seasons, scr*w spring cleaning. Use the dreary housebound winter months to knock out the deep clean, and dive into your gardens or other outdoor activities once the glory of longer days and the rays of the sun poke through the curtain of clouds.
Baseboard Dust Bunnies: EW
Baseboards, who cares right? They’re hard to see unless you are crawling on the floor. But I can tell you mine get pretty icky. And I don’t have pets any more. When I did, I could have knitted a gallery of sweaters from the weekly shedding. The cobwebbed designs around the supply and return vents and ceiling corners, while artistically interesting, are also frightfully disturbing.

About once a month or when we expect to host company, I grab the duster attachment to my vacuum and set to work along baseboards, window sills, and ceiling corners and vent covers. If I have time, I will also run the vacuum along door frames. The whole process actually goes fairly quickly. If the baseboards and caulk are super dirty, then grab a damp cloth to give them a little extra TLC. With occasional vacuuming, they should stay relatively presentable unless pets shed hard and fast.
Fortunately my vacuum has a long hose with an assortment of attachments. My daughter’s vacuum hose is inconveniently short which can wreak havoc on one’s back and knees as I learned while I was assisting her a few weeks ago. It also did not come with a duster attachment but I was able to get the job done. It took a little longer mostly because I needed to take frequent breaks to prevent back injury. My suggestion would be to borrow a long hosed vacuum with a duster attachment if you don’t have one.
Staying relatively on top of the game is easier than digging our way out when the build up gets really bad. Zone out with some favorite music (if your vacuum isn’t too loud) as you tune in to these spaces. Think of it as vacuum therapy.


Greasy, Grimy Glasses
How often do you wash your eyeglasses? Do you wait until they are a smudgey opaque before wiping away the grime?


The oils from our skin and hair dirty the nosepads, frames, and temples (the part that holds the frame around your ears). If your skin is prone to breakouts, frequent eyeglass and sunglass cleaning is highly recommended. Many of us rarely take the time to do much beyond wiping down the lenses. Set aside a few minutes to sidestep pore clogging and eye strain.
At least once a week, typically on the weekend, I make an appointment with myself to grab all of my readers and sunglasses from around the house, my purse, computer bag, and car. I fill a bowl with a mild skin cleanser and water and soak each pair. With a gentle cloth, I wipe down all of the nosepads and temples, then dry the lenses using circular motions with a Norwex glass cleaning cloth. In a matter of seconds, the lenses are super clean. Several times a week I fully clean the readers I use daily.
The whole process takes maybe 5 minutes. Set a weekly electronic alert reminder. Your eyes and skin will thank you.
BTW, the Norwex glass cleaning cloth also works wonders on your mirrors, shower doors, jewelry, stainless steel and of course windows.

Something so simple confidentially took me way to many years to discover. But this tip has made my life less hassled. Seriously.
Pillow cases, wash cloths, hand towels. Do you leave a trail of linens en route to the laundry room? Here’s an easy way to ensure that nothing is inadvertently dropped.

Provided that you are not intending to wash the blankets or comforters, remove them from the bed. If you wish to wash them, then place them along with any other linens in the middle of the sheets. Then remove the fitted sheets from the bed, encasing all the other items within. It will make a super efficient tote. Make it as secure as possible to avoid dropping any contents.
Be sure to completely empty the contents of the sheet into the washing machine so the ball of linens doesn’t jam your machine.

Oh that is embarrassingly disgusting!

Use a small screwdriver to gently pop the keys from their bases.
There’s a part of me that is hoping no one will see this practical tip because it’s embarrassing. Confession: I am a neat freak, no doubt most organizers share that trait. We like to keep things orderly and clean. We are naturally wired that way. So how in the world did I ever let my keyboard get this gross? Frankly, I can’t think of a reasonable excuse. This is definitely one of the hazards of eating while working at your computer. Although my computer is a laptop, I prefer an old-fashioned keyboard that resides on my keyboard slide out drawer on my desk to enable better posture while typing.

Work in small sections to keep track of the keys and replace with ease.
When the spring clean bug bit, I set aside an hour one Friday, grabbed the vacuum, small screwdriver, and a damp cloth and set to work.

Gently, I popped the keys from the bases in small sections so that I didn’t have too many keys to figure out where they need to be reseated. I placed them on my desk in order so that replacing them was simple and they snap back in with ease.
Slowly I worked my way through the entire keyboard. As I have the laptop keyboard as a reference, I was able to double-check the placement if I was unsure. I gently scraped areas where the crumbs adhered to the surface, carefully vacuumed all the crumbs, and then gave the keyboard and each key a wipe down with the damp cloth.
Finally, I replaced each of the keys by snapping them back into place, and enjoy your clean keyboard. Now, I will definitely be more mindful about eating at my desk.
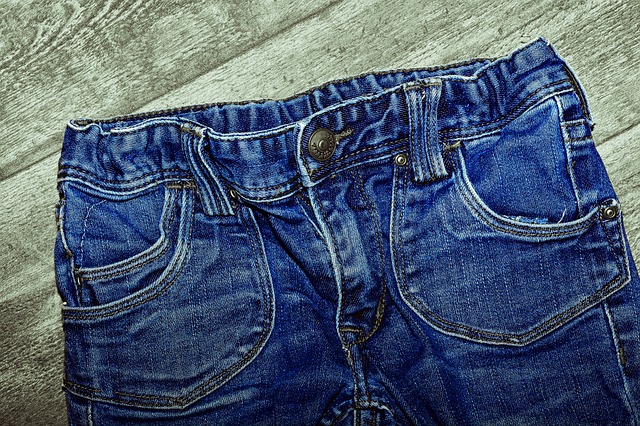
Multiple wearings can save energy usage, money, time, and wear and tear on your clothes. Pre-worn jeans can be very forgiving so no one will be wiser.
No One Will Know
I seem to be on a laundry tip craze lately but that is because it’s one of those household chores that drive my clients batty. This tip might seem a bit icky to you, but honestly, I think you will be fine. Here it goes:
Wear your pants especially jeans a few times before laundering. You will have less clothes to launder each week, less to put away, and it should help to prolong the life of your pants which your budget will love. Pre-worn jeans can be very forgiving appearing just fine despite multiple wearings so no one will be the wiser. If they’re grass, spill or sweat-stained, then toss them in the washer. If they are linen or other wrinkled material, give them a quick press before wearing. But face it, linen tends to wrinkle anyway each time you sit down. Less laundering might save $$ on your water and energy bills in addition to your personal time bank. Go ahead, wear them one more time.

Children, as young as toddlers, can help slam-dunk dirty clothes into labeled hampers. Create simple bin labels with colors and words so they see how to sort. This helps with responsibility, color identification, reading, categorizing, organizing, but mostly it makes your life easier.
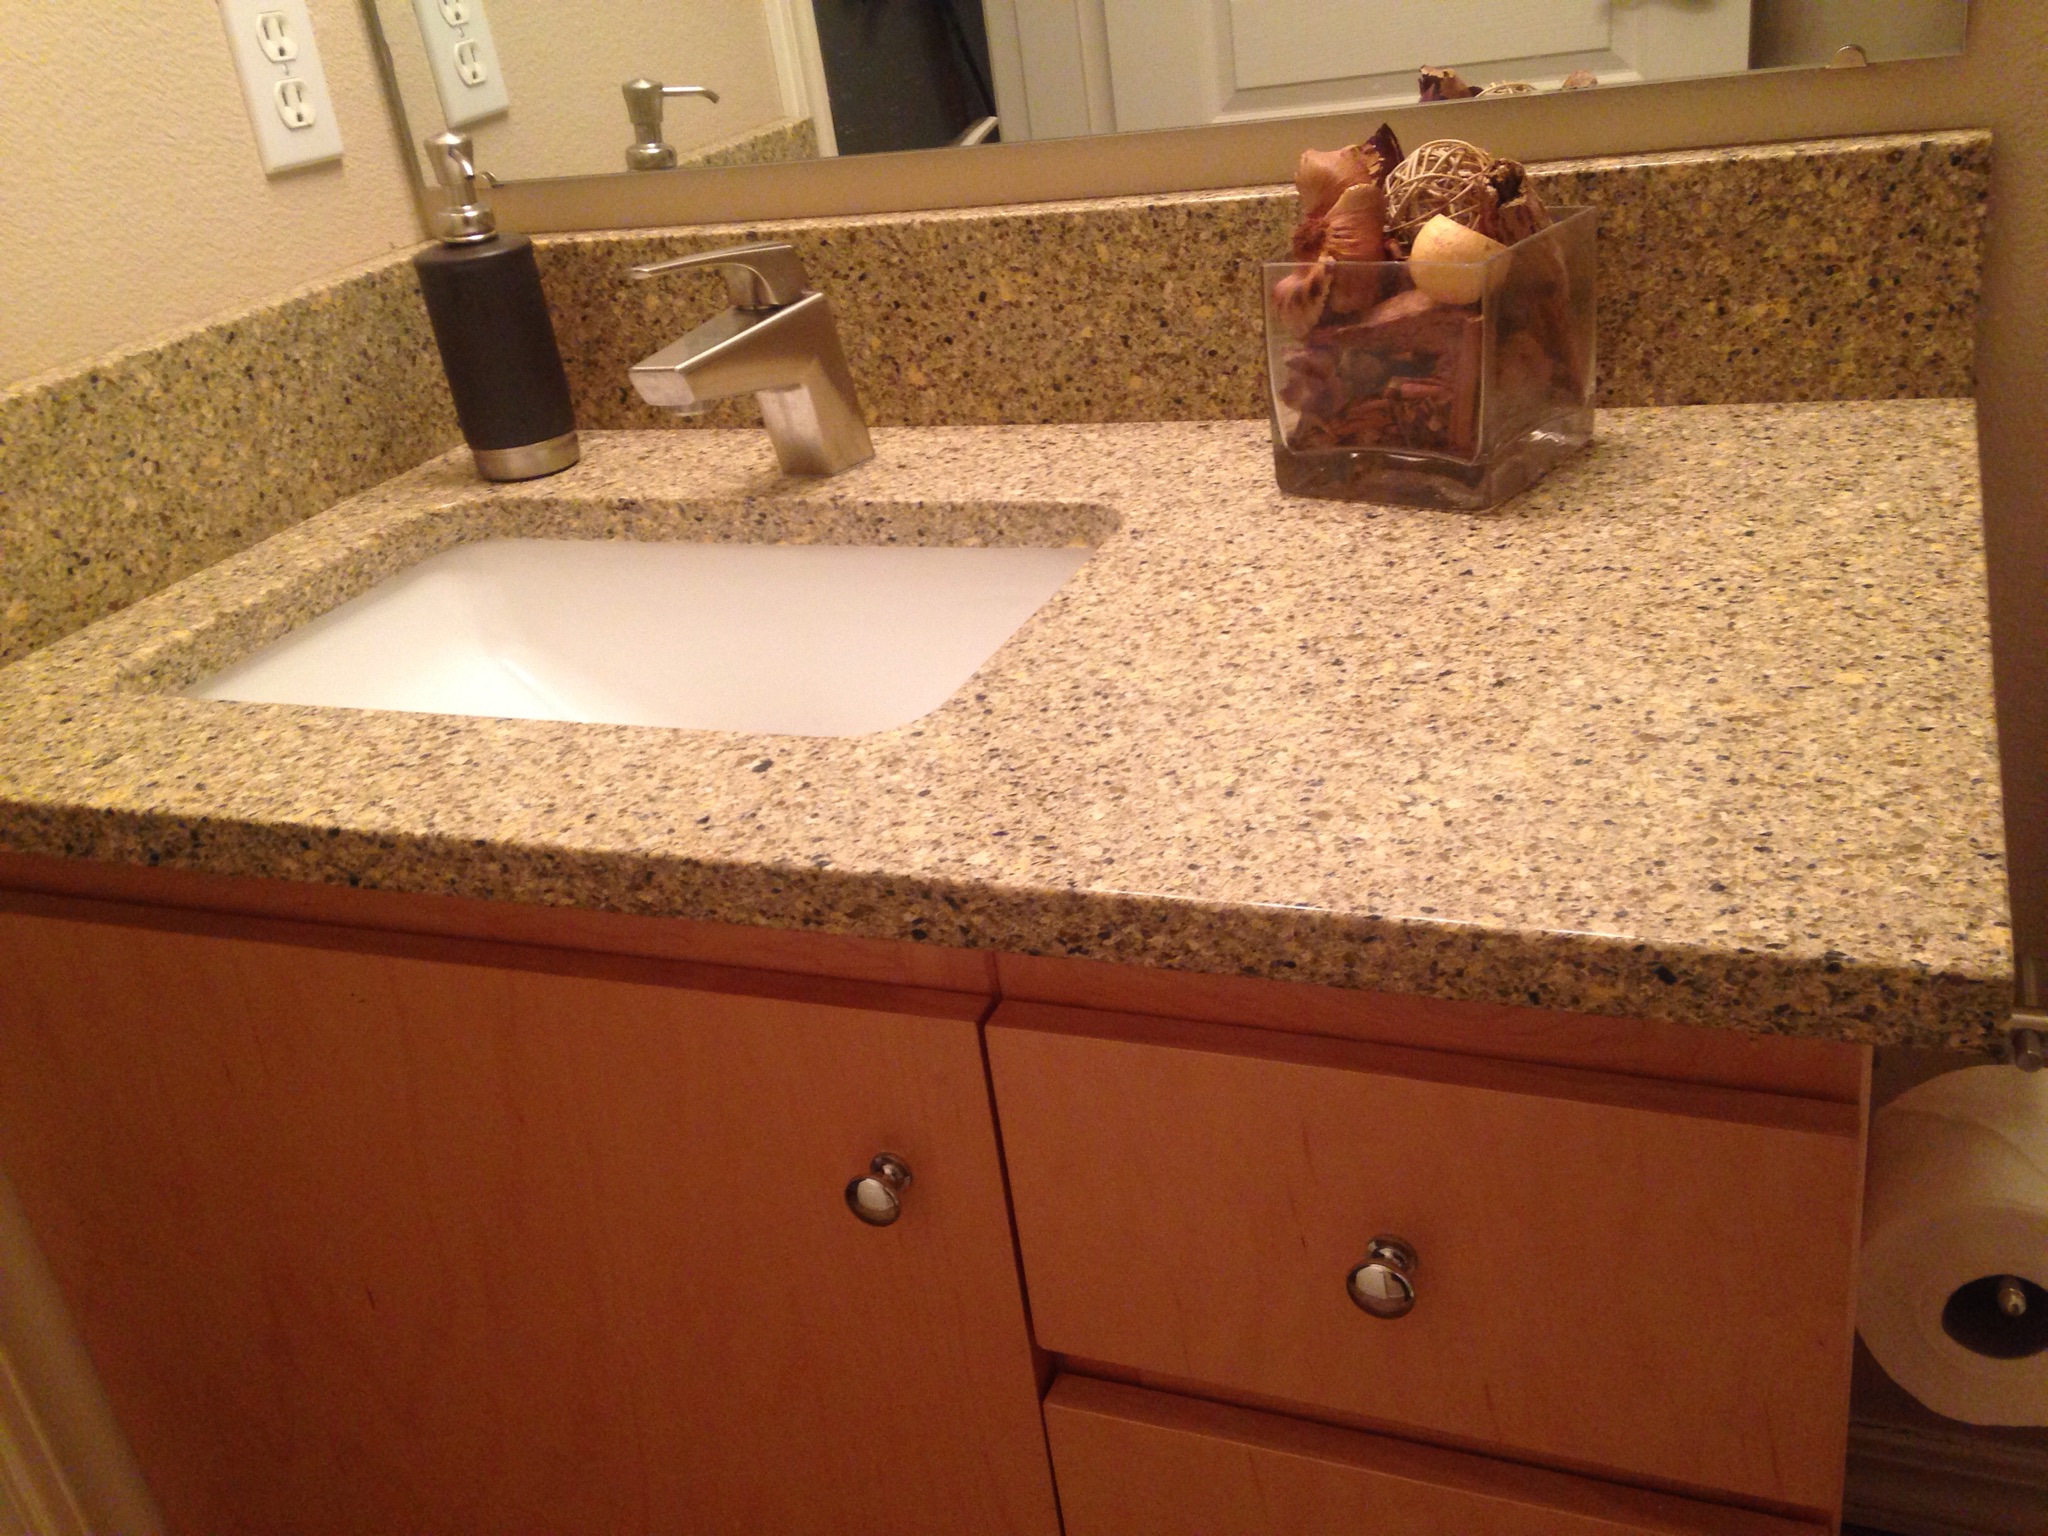
Go Camo!
Thinking about undertaking a home remodeling project this year? If so, as the queen of home remodeling projects over the last 30 years, I have zillions of tips to share, but this has to be my favorite. If you don’t like to clean, consider decorating with colors and patterns that camouflage dirt, dust, and grime.
Unlike the trend on most current interior design tv programs and magazines, I am not a fan of subway tiles. I spent way too many years attempting to coax the dirt and discoloring out of grout. In high use areas such as bathrooms, no matter how much I cleaned the countertops and backsplash, they looked dirty unless I used harsh chemicals. Moreover, it took too much time and fuss with scant results.

Hair and dust is difficult to see while looking down. But look at the image to the right. The pattern and color disguise are super disguises.
Most of my remodeling projects feature the fewest grout lines possible with sleek, minimal widths. Countertops with no grout lines are less hassle, so much quicker to clean, and maintain a spic and span appearance. In circumstances where grout is unavoidable, avoid white grout if you can. The darker, the easier to camouflage dirt and keep it looking fresh.
As for tiles and counter surfaces, I am a happier camper if you can’t see the ick. To be honest, this periodically backfires when entertaining. On more than one occasion when I have not wiped down surfaces in a few days, I have glanced over at a counter witnessing tiny crumb balls. Cringingly, I cross my fingers hoping no one else will notice. Since the crumbs and dust are only visible at eye level, they are otherwise difficult to detect. Looking down at my multi-speckled and colored kitchen, laundry room, and powder room counters, I rarely see the unwanted flecks.
My newly remodeled master bathroom floor does not show hair bunnies. On the flip side, if I run my hand along the floor, it occasionally comes out caked with hair. Yet no worries if unexpected guests pop by hoping to see the finished bathroom. I am not embarrassed by the dirt because it is unseen while standing.

This was the result of a hand swipe in the vanity area shown to the left.
So if you are considering remodeling floors or countertops, and if appearance and time savers are important to you while extra work and hassle are not your thing, go camo!
Personal Spring Cleaning Tip: Disinfect Your Earrings
When was the last time you disinfected your pierced earrings?
Think back to when you first got your ears pierced. As I recall, I was diligent about following the instructions to cleanse the posts in alcohol daily. Throughout my life I have taken this precaution before wearing a newly purchased pair, but have been a bit lax otherwise.
Ok, so I admit I do not sanitize my own earrings nearly as often as I should which ideally is weekly. Our earrings can be contaminated with a variety of dirt and bacteria. Since we are inserting them into our bodies, we should be mindful about any residue on them. In fact, it is wise to wash your hands prior to inserting the posts into your ears in order to avoiding transferring any bacteria from our hands into the holes in our ears (or any other piercings).
Some earrings will scream at you that they need some TLC as they have become discolored, tarnished, or showing obvious signs of dirt. Once you clean them, you will be absolutely wowed by the difference. Therefore, I do ensure I at least incorporate a dousing, detarnishing, and scrubbing into my yearly spring clean.
Before cleaning any heirloom, high value pieces and precious gems such as emeralds and pearls, please consult a jeweler or have them professional cleaned. The Practical Sort assumes no responsibility for damage to your jewelry, so please exercise caution.
Here's my simple process:
Step 1: Wash your hands with soap and water to remove any contaminants that could spread to your earrings and your ears.
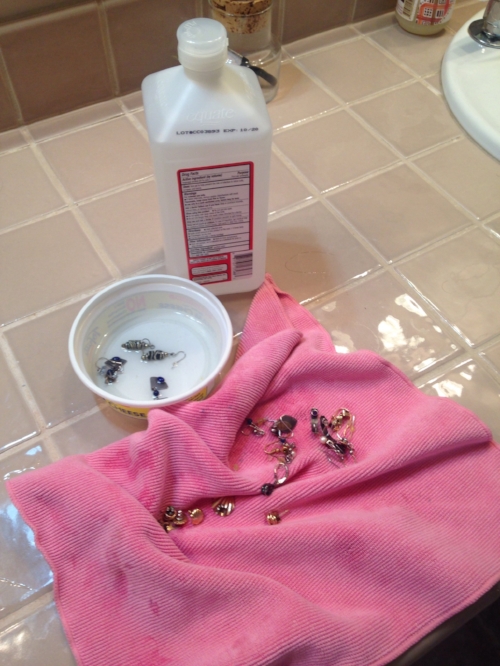
Step 2: Pour some alcohol into a container, I prefer to use glass, but I had none available when I had a few minutes to do to this. Therefore, I grabbed a small plastic container that was under my vanity. I rinsed it first before adding the alcohol.
Step 3: Swish the earrings around for a minute or two. If you do not feel comfortable submerging them, then carefully cleanse the posts or wires with some alcohol on a cotton swab.
Step 4: Run them under water for a quick rinse.
Step 5: Gently rub them with a microcloth to remove any remaining ick and to hasten the drying time.
Voila, I was done in less than 10 minutes.
Check out this recent practical tip to learn how to remove tarnish from silver jewelry. You can also use a toothbrush or other bristle to loosen ground in dirt. But please do so gently.
What to do with any remaining alcohol?
I used the remaining alcohol to rub down door handles and toilet flushers since my husband has been sick the last several days. Even if he had not been ill, it is a good practice to clean those heavily used areas frequently. Paying extra special attention to bathroom handles that are touched after using the toilet but prior to washing your hands and handles used when entering your home. You never know what germs you came in contact with while you were out.
One Day At A Time/One Thing At A Time: Your Guide to A Manageable Spring Clean
Spring is here. Have you noticed the cherry blossoms and their luscious scent? The daffodils colorfully swaying their bonneted heads in the wind? The neon azaleas and the vibrant white dogwoods screaming for your attention? If you haven’t cottoned on, I love spring. And like many folks, I welcome the season by delving into a deep dive clean especially for those neglected areas of my home that are crying out for some TLC. And when I plunge in, I try my best to be mindful about the products I am using and the amount of resources consumed. That is definitely not easy when it comes to things like patio moss removal, outdoor window cleaning, and roof washing. But, where I can make an impact to be kind to the planet, I try my best because face it, that is all we can do right?

I cannot believe I am sharing this icky photo with you, true confessions for sure
In fact, if you are interested in learning more about nurturing your home while reducing your environmental footprint, keep your eyes peeled. Recycling Guru Betty Shelley and I have a number of workshops in the offing where we will be sharing a boatload of tips that are easy on your time, wallet, and Mother Earth. And what guest would be more appropriate for my April Earth Day Month blog than Betty? I am super excited for the interview. She shared some awesome ideas. Be sure to check that out next month.
Where to begin spring cleaning since there is so much to do? Pick one thing a day that fits into your available time frame. For instance, I use tiered shelving in my master bathroom closet for toiletries. Wow, they were grossly dusty. Well, they should be, I have not fully cleaned them in a year. One unit was coated with oils that dripped from dispensers and mouthwash that ran down the side of the bottle unnoticed. That took some scraping.
Before leaving for work one morning, I tackled that shelf. I grabbed a bin to temporarily house the containers while I washed the plastic expandable shelving. Then with a damp rag, I swiped down the built-in shelf. Each day I selected a different row of the 5 sections to clean. This kept the job very manageable in the time I had available.

Heck yes that is an embarrassing layer of thick dust. This basket was atop my TV cabinet so it was hard to see the extent of the coating.
I also did the same thing with my artificial plants (yes, I still have some of those). I filled the washing machine with warm water for a small load, grabbed the plants, and one by one swished them in the water. I then allowed them to dry in the utility sink while some rested on rags on the countertop. By the time I returned from work later in the day, they were ready to be returned to their baskets and respective homes in each room.
As I previously mentioned in another tip, I did have my throw rugs and upholstery cleaned by an eco-carpet cleaner a few weeks back, and they did a beautiful and thorough job without toxic chemical smells or residues. Another thing checked off the list. And the advantage of having someone to do it for me was that I was able to do my work while they scrubbed. The price was somewhat reasonable since we have been saving for ten years (embarrassed blush). Thank goodness those dark colors hid the dirt pretty well.

Vinegar and Norwex Enviro Cloth and Window Cloth
Next up, one room a day interior windows and sills. The job goes relatively fast using vinegar on a Norwex Enviro Cloth to do a first round cleaning. Then I give the glass a shine with the Window Cloth. When the weather gets nicer, I will tackle the exterior windows that I can reach.
I hope this gives you some food for thought about how to get started on your projects without the overwhelm that some people encounter.
If you need a quick boost to get past the resistance to making progress, check out this modified Emotional Freedom Techniques (EFT) tapping podcast. Scroll down past the videos. The videos might be helpful too. I will be offering more podcasts and links to other's EFT and Simple tapping podcasts in the future. This podcast by my tapping idol Gene Monterastelli will also get you moving if you are uncertain where and how to begin.
And if you still need a hand, contact ThePracticalSort.com and we will craft a path toward success together.

Who Knew? In all my years of doing laundry, I had no idea about the concept of givers and receivers. In fact, it seems that only in the last few years I have been noticing white spots on my dark clothes. The spots are most predominant on those items that I do not put in the dryer. Most likely the dryer removes the discoloring as it tosses and turns. It made me question with the reformulation of detergents whether that is a contributing culprit.
However, last month my 20 year old washing machine made its final spin to the recycling facility, and upon reading the manual for my new machine I came across something very interesting. The concept of Givers and Receivers.
Sorting by color to allow for temperature variances has always been my routine to avoid dark colors running onto lights and whites. However, I have now added one more load, yuck the eco side of me is NOT happy. Some fabrics shed lint while others attract which can lead to lint build-up on items like my workout pants and Columbia fleece jacket.
The shedders are cottons, terry cloth, chenille, bedspreads and rugs and anything that has been heavily bleached. While the receivers are synthetic fabrics, permanent press, knits (including socks), corduroy and any smooth, satiny fabrics.
Sometimes it is better to give than to receive and white ick on clothes is a perfect. So if you are experiencing this same issue, it is time to think about one more sort.
Freshen Up the Linens

If you have kids returning from college for the holidays or if out of town guests will soon be arriving at your doorstep, then this would be an ideal time to freshen up the bed linens and towels that haven't been used in months.
Toss the linens in the laundry so that they will be ready when your guests arrive tired from their journey. Add a few drops of pure lavender essential oil to your laundry detergent to help your guests fall into a peaceful sleep. Be wary of using any scents if allergies or sensitivities are an issue. If you would like to make your own Vinegar Laundry Rinse, check out this link for the ingredients.
Grubby shower curtains could probably also stand a run through the washing machine. If the shower curtain liner is ripped or unsightly beyond repair, consider investing in a new one (they are fairly inexpensive) and use the old one as a tarp for painting or other household projects.
Keep up with the Practical Sort's latest blogs and tips by subscribing here.

Clean filters will ensure your HVAC system runs more efficiently resulting in more economical, higher capacity performance
We have had some chilly mornings lately. You may have noticed your heater pop on with that scent of burning dust. With the change of seasons, it is time to think about replacing or cleaning your HVAC system air filters. The accumulation of ash that descended upon the Pacific Northwest during the last month or two makes this critically important this year.
Clean filters will ensure your HVAC system runs more efficiently resulting in more economical, higher capacity performance. You should notice less dust in your home which means less cleaning for you. Good quality filters will remove pollen, lint, dust, and other airborne contaminants.
If you have a washable electrostatic filter, it is recommended that you simply dust off excess dirt and flush under hot water. Let it dry completely before replacing. A mild detergent can be used if required. However do not use oils, adhesives, house hold cleaners, industrial cleaners or alkali solutions as this will damage the filter.
If you have replaceable filters, I recommend that you buy a multi-pack and bring the used one with you to the store or make note of the size to ensure that you purchase the correct one for your system.
Toilet Rust Rings
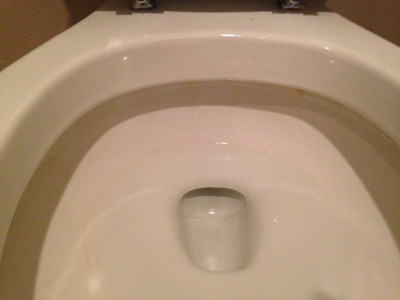
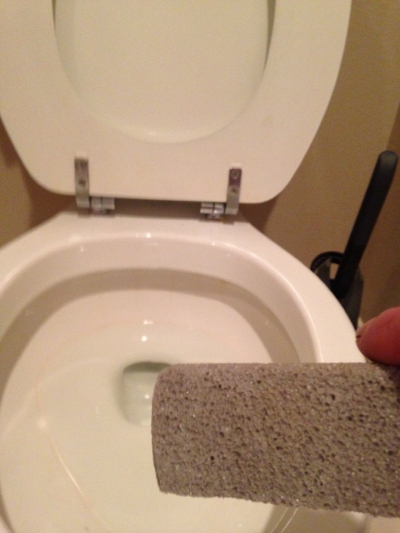

Do those rust rings in your toilet drive you crazy? You may have tried scrubbing with toilet brushes or using harsh chemicals, yet nothing seems to work. It took me many years before I discovered a pumice scouring stick. It quickly, easily, and safely removes those rings at least temporarily. Yes, nothing good lasts forever.
Dampen the stone first in the water to soften it so that it does not scratch the toilet. Then use the stone to erase the ring.
There are some reported circumstances of pumice stones scratching older toilets, so please check with the manufacturer first prior to using this method.
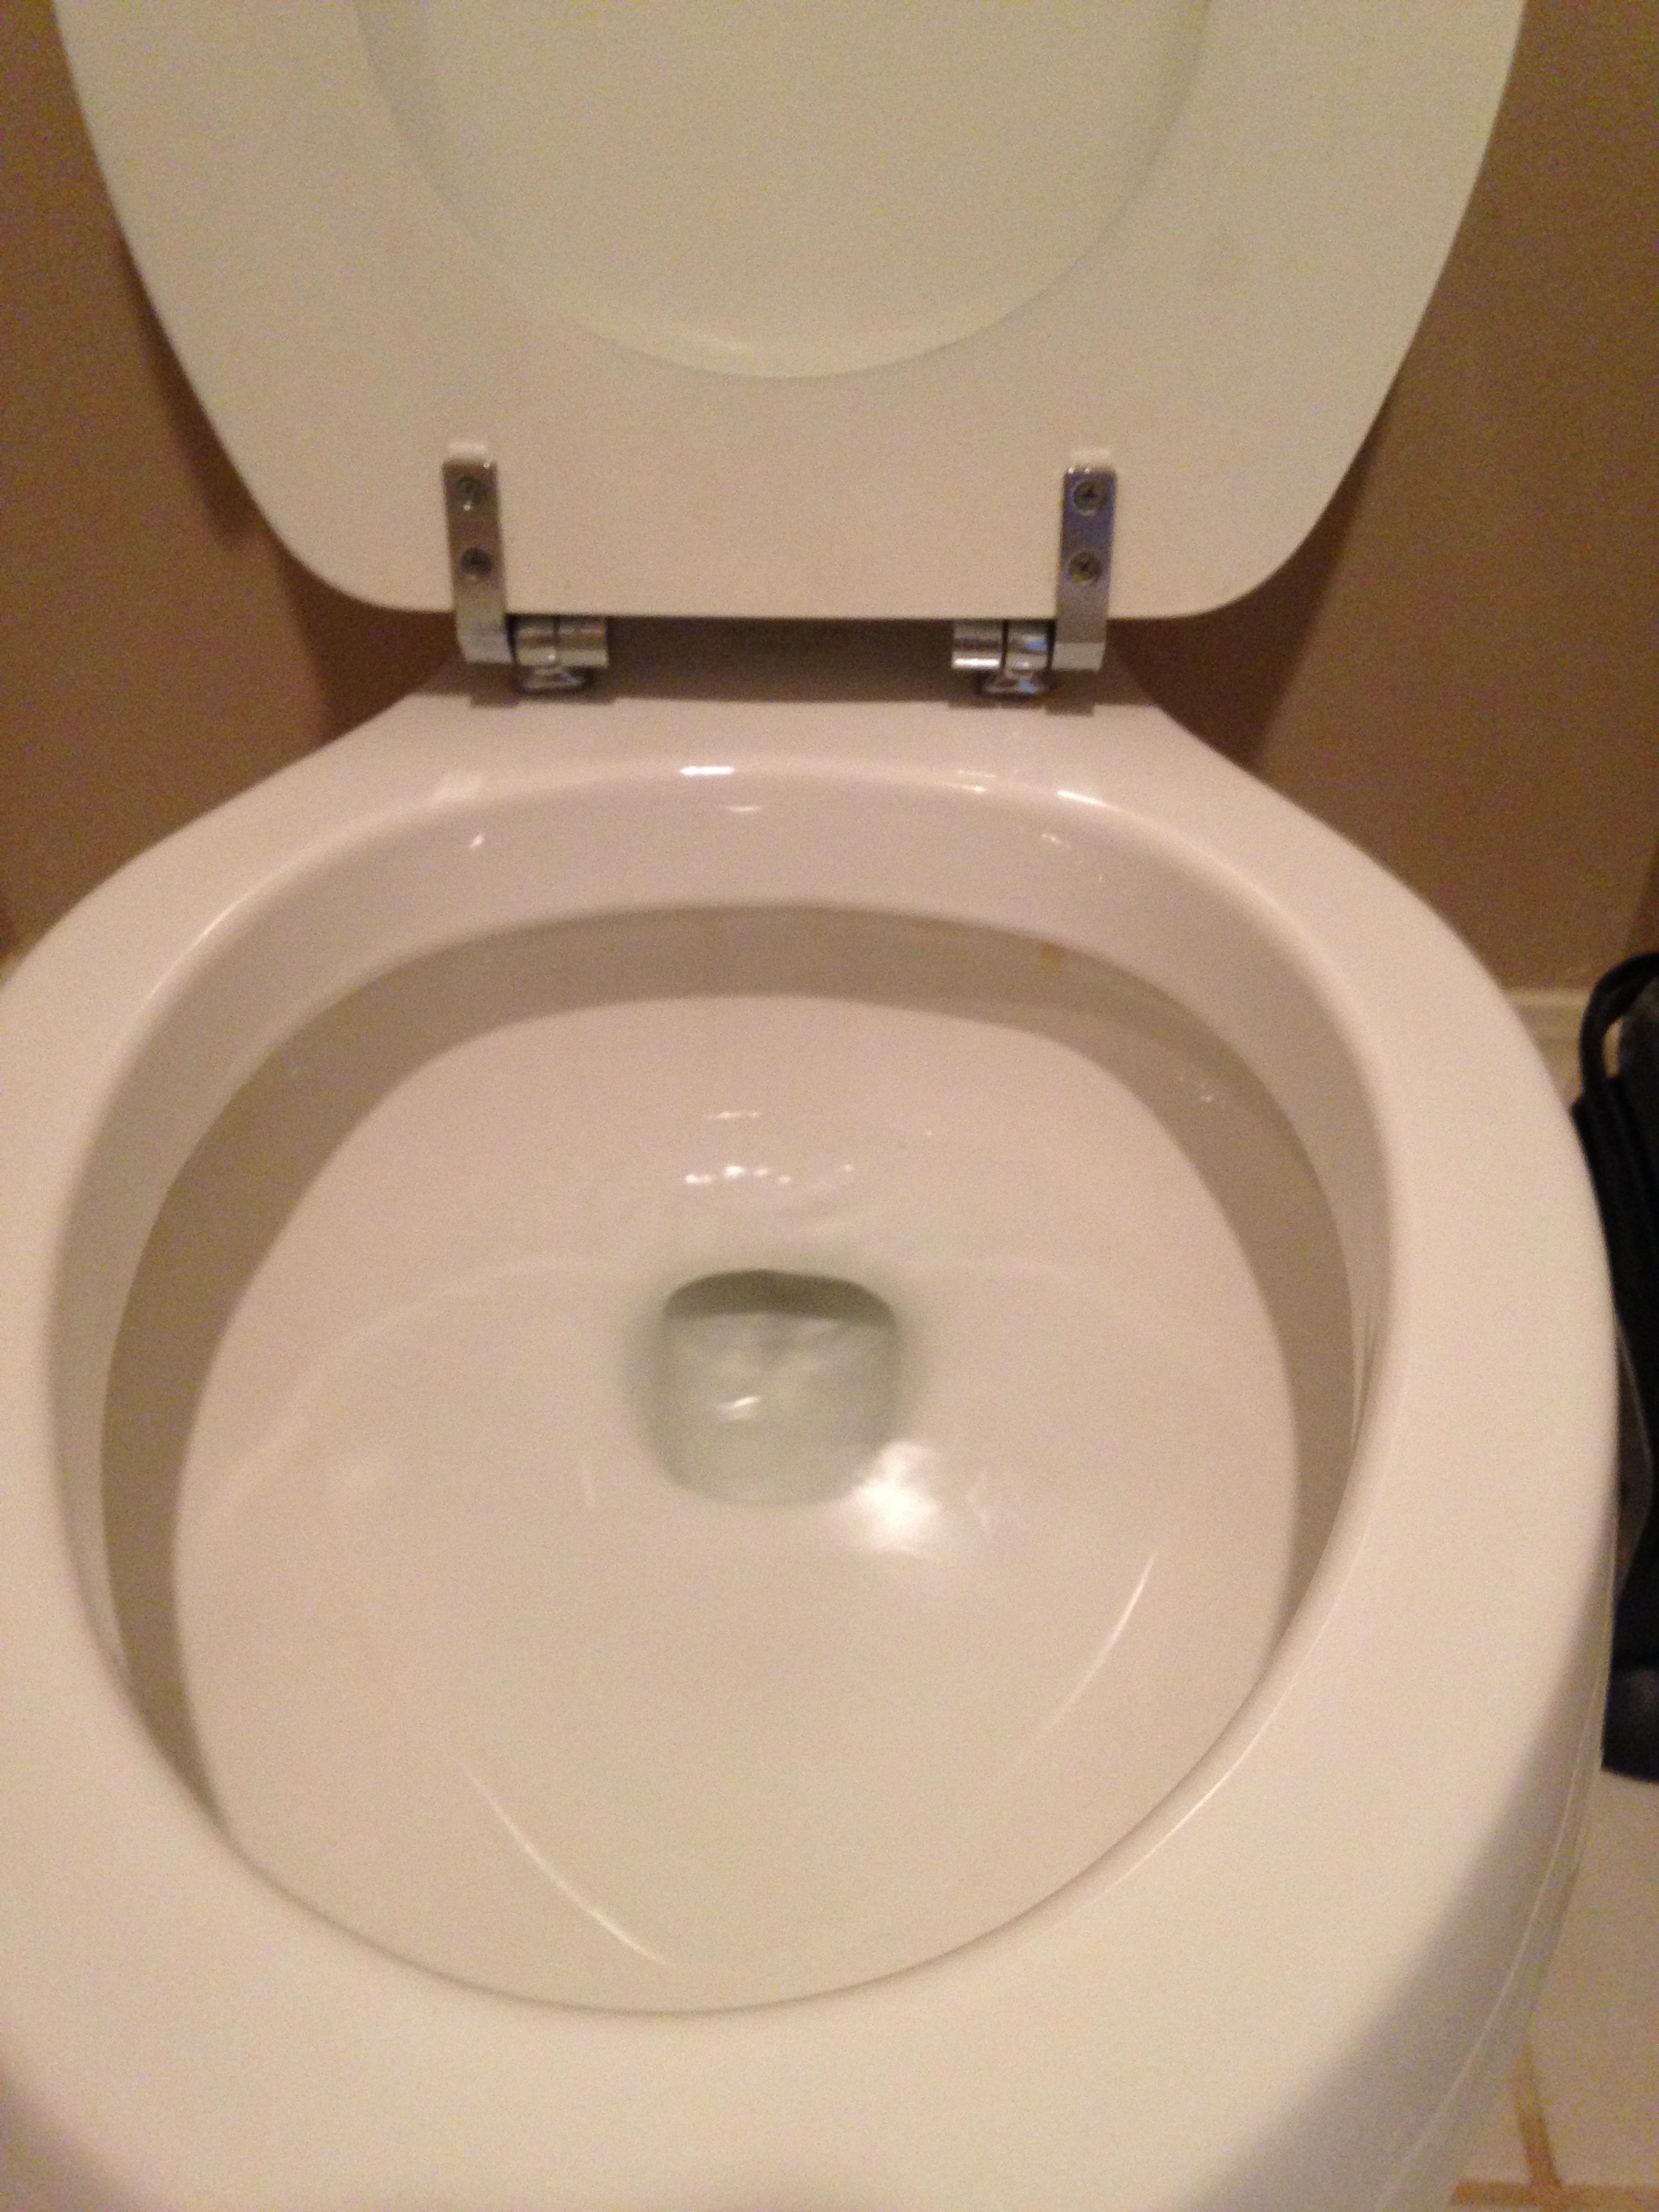
Because I keep up with removing the rust stains, it may be difficult to see the ring in the first slide. After removal, I add some baking soda and vinegar to the bowl. Let it sit for a few minutes, then finish cleaning with a toilet brush and flush. You will be amazed at how clean the bowl is in a matter of minutes with no toxic chemicals.
Cleaning Up Excess Caulk
Need to get rid of excess newly applied gooey caulk? Use ice. Wrap the ice in paper towel (enough so that you can hold it without freezing your fingers, but thin enough for the cold to penetrate). Scrape along the caulk and wipe up with a clean cloth as you go. Even works on glass. Use a little vinegar on the glass after to shine it up.

